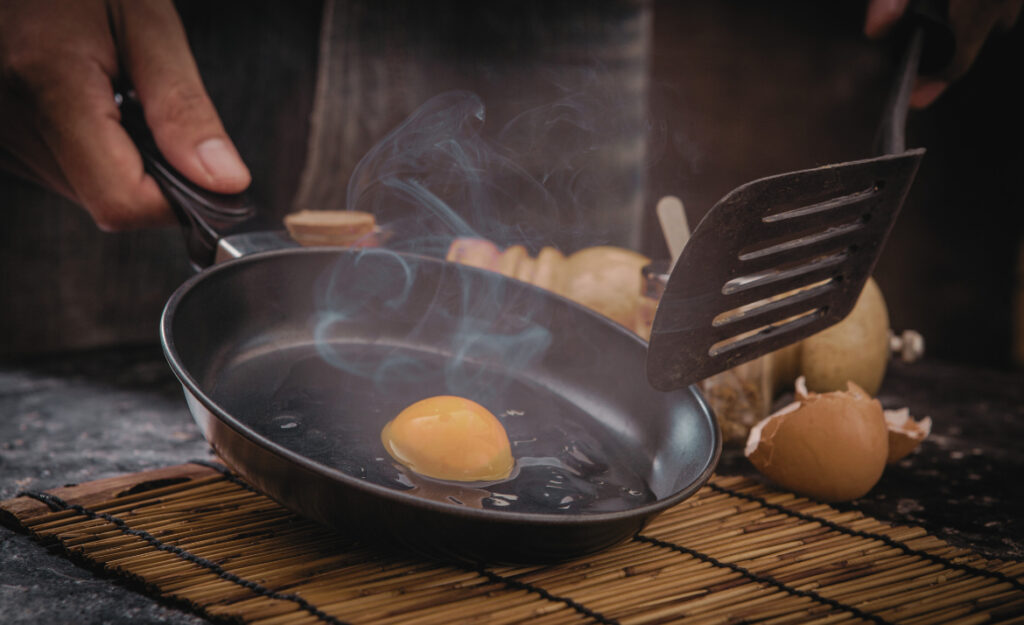

You glance at your favorite spatula and spot an orange tinge that refuses to budge. Removing these kinds of marks is a challenge—yet when you know how to remove stains kitchen utensils, the process becomes much simpler.
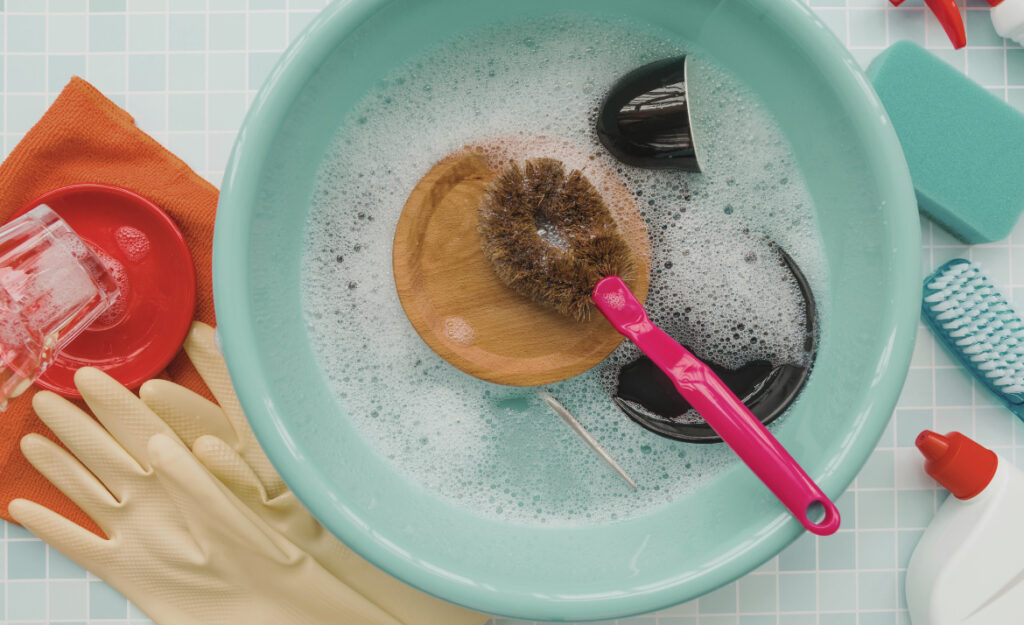
Kitchens don’t just collect memories, they gather stains too. Discolored spoons, spotted tongs, and stained mixing bowls all point to moments of creativity. If you want these tools spotless again, there are proven guidelines.
This article breaks down effective ways to remove stains kitchen utensils. Whether dealing with tomato sauce residue or dark tea streaks, you’ll find practical advice and step-by-step instructions tailored for everyday use.
Easy Starting Steps for Lifting Everyday Stains
Following a consistent starter cleaning process quickly helps remove common stains kitchen utensils face daily. Acting on utensils right after use prevents food from setting in and staining for good.
Always rinse kitchen utensils with cool water immediately after use. This step lifts surface residues before they dry, making later removal of stains from kitchen utensils simpler. Never leave sauce-covered spatulas sitting overnight.
Quick Scrub with Baking Soda Paste
Mix baking soda with a small splash of water to form a mild abrasive paste. Using a soft sponge or brush, gently scrub all affected parts of the utensil until the stain fades.
Baking soda lifts mild stains from plastic and metal surfaces without sharp scratching. This trick handles coffee, tea, and curry marks with little effort—but thorough rinsing ensures no white film remains.
After the scrubbing, always check corners and handles, where residues like tomato or turmeric can settle unseen. Rinse and towel dry the utensil immediately to avoid new spots forming with air-drying.
Vinegar Soak for Stubborn Spots
Submerge heavily stained utensils in a bath of equal parts white vinegar and hot water. After fifteen minutes, marks from tomato sauce or tea begin to dissolve with easing scrubbing.
This mild acid breaks down both mineral build-up and colored food stains kitchen utensils frequently endure. For extra punch, sprinkle baking soda just before scrubbing again.
After soaking, always wash utensils thoroughly with dish soap to neutralize vinegar and calm any sharp odors. Air dry or hand dry depending on the utensil’s material.
| Utensil Material | Common Stains | Best Starter Remedy | What To Do Next |
|---|---|---|---|
| Plastic | Tomato, curry, oils | Baking soda paste scrub | Rinse, air dry on rack |
| Stainless steel | Water marks, tea | Vinegar soak, soft cloth rub | Polish with dry towel |
| Wood | Oil, dark sauces | Lemon rub, salt scrub | Finish with food-safe oil |
| Silicone | Fat, red sauce | Dish soap, baking soda dip | Hot water rinse |
| Glass | Egg, burnt sugar | Hot water soak, scraper | Wash and towel dry |
Dealing with Stains from Strongly Colored Foods
Addressing stains kitchen utensils get from spices and vibrant sauces helps maintain a tidy, healthy kitchen. The most colorful ingredients leave some of the most stubborn marks.
Curry, tomato paste, and beetroot swiftly stain plastics and silicone. Scrubbing with harsh pads will only damage their surfaces. Instead, focused cleaning techniques help you remove stains kitchen utensils safely.
Targeted Soaking Technique
Soon after noticing a stain, soak utensils in warm, soapy water with a tablespoon of lemon juice for at least ten minutes. This weak acid breaks up pigment bonds without dulling surfaces.
- Soak immediately after use: Prevents color from binding permanently and saves more cleaning effort.
- Use non-scratch pads: Keeps surfaces smooth and prevents micro-scratches where stains might form again.
- Rinse with warm water: Lifts both the stain and the cleaning solution efficiently.
- Dry thoroughly: Stops water spots and keeps new stains from forming in crevices.
- Repeat if needed: Persistent foods like turmeric may require two or more soaks for kitchen utensils to return to their original color.
Completing this process after pasta dinners or holiday baking keeps your spatulas and stirring spoons looking new for longer.
Drying and Storage Matters
Proper drying after stain-removal steps protects utensils from both stains and odors. Arrange utensils upright in an airy space—this ensures water escapes quickly and prevents bacteria from growing in moist environments.
- Stand utensils upright: Lets air reach all surfaces, speeding up drying.
- Wipe handles dry: Handles absorb and trap moisture, which can develop odors and stains.
- Store away from direct sunlight: UV can yellow plastics and fade silicone.
- Separate metal from plastic: Prevents metal rust and cross-contamination of residue.
- Use drawer dividers: Keeps utensils separated and ready for their next use, while avoiding accidental smearing of lingering stains.
A few minutes after cleaning give you a bright, fresh set of cooking tools for each new meal prep session.
Advanced Techniques for Persistent Marks and Discoloration
When ordinary scrubbing doesn’t budge spots, introducing household acids or abrasives gives professional-level results. Some stains kitchen utensils possess seem set for life—these target even the most resistant discolorations.
Combining physical agitation, heat, and natural chemicals solves especially tough residues, like burnt caramel on whisks or turmeric shadows in spatulas. The steps below transform even tired kitchen tools back to their former glow.
Treating Burnt-On Residues
Fill a heatproof bowl with hot water, add three tablespoons baking soda, and immerse the utensil for thirty minutes. For really stubborn carbonized marks, sprinkle more soda and carefully scrub using a non-metal brush.
This approach suits both stainless-steel and silicone utensils regularly exposed to high heat. Remove stains kitchen utensils acquire after every stovetop incident to preserve material strength and food safety.
If dark marks remain, dab with a cloth soaked in white vinegar, then rinse completely. This removes any lingering odor or aftertaste from both the stain and the cleaner.
Reducing Yellowing on Plastic Tools
Soak yellowed utensils in a solution of two parts hydrogen peroxide to one part baking soda for twenty minutes, then scrub lightly with a soft brush. Rinse thoroughly; repeat if necessary, since plastics hold stains deeply.
This method works well for spatulas, mixing bowls, and measuring cups that become cloudy or discolored with regular pasta sauce or curry exposure. Avoid using on anything with printed markings since the solution fades ink.
After each round, always store items well away from colored sauces until fully dry—prevents fresh stains kitchen utensils most easily attract right after deep cleaning.
Natural Cleaning Solutions That Really Work
Eco-friendly solutions offer gentle yet powerful ways to remove stains kitchen utensils. Many options use simple kitchen staples that are already on hand and deliver both safety and effectiveness without heavy chemical smells.
Using these natural options protects delicate wood, silicone, and even glass utensils. Slip a slice of citrus or a dash of salt into your routine, and stubborn marks fade in less time and with less effort.
Lemon-Salt Scrub for Wood and Bamboo
Sprinkle coarse salt directly onto the surface of a stained spoon or spatula. Rub vigorously with half a cut lemon, letting the released juice blend with salt grains. Rinse and towel dry right after.
This classic method is gentle on all natural wood finishes, yet tough on wine, oil, and sauce stains kitchen utensils. Plus, the lemon leaves a clean, pleasant aroma without residue.
Store only once fully dry—wood absorbs moisture quickly and lingering dampness attracts new stains. Finishing off with a layer of food-safe mineral oil makes the next cleaning easier.
Baking Soda and Vinegar for Metal Utensils
Dust stainless-steel tools with baking soda. Drizzle vinegar, watch the froth, then polish in circles with a non-abrasive cloth. This method brightens dulled whisks and spatulas right in the kitchen sink.
Avoid using harsh scrubbing pads, which can scratch shiny surfaces and invite rust or new stains kitchen utensils may attract down the line. Rinse with warm water and dry by hand.
If utensils develop any odor, lemon juice can neutralize it along with the stain. Try this on salad tongs or ladles kept in steamy sinks after long prep days.
Preventing Future Staining Accidents
Building stain-prevention into your daily kitchen habits makes it far less likely stains kitchen utensils will bother you in the future. Every routine offers a chance to build this protection into your tool care.
Consistently storing clean, fully dried utensils away from strong dyes and fragrances maintains a spotless collection. Prepping for stain defense just takes a few targeted changes that stick over time.
Treating Utensils Before First Use
Rub a thin layer of mineral oil into wooden and bamboo utensils before their first use. Let dry overnight then wipe any extra off in the morning. This step repels sauces and keeps flavors pure.
Prepping new plastic and silicone utensils with a quick dish soap wash, followed by an air dry, removes manufacturer residues that could attract stains kitchen utensils don’t need. Repeat every few weeks as a refresher.
For stainless steel, a rub with a slice of lemon followed by rinsing prevents both fingerprints and long-term discoloration. Handle these tasks as soon as utensils join your kitchen lineup.
Choosing the Right Tools to Avoid Stains
Choosing stain-resistant utensils from the beginning means removing fewer stains kitchen utensils bring into your cleanup routine. Materials and finishes really matter when the recipe calls for vibrant, sticky, or acidic foods.
Pairing the right tool to the right job extends each utensil’s life and simplifies care. No matter the material, a little research up front saves hours of scrubbing and worry later.
Feature Checklist for Stain-Resistance
- Opt for nonporous surfaces: Stainless steel and high-quality silicone resist stains better than cheap plastics or unfinished wood.
- Check dishwasher safety: Dishwasher-safe labels usually mean less hidden residue, making it easier to remove stains kitchen utensils may pick up over time.
- Use utensils with lighter colors: Pale shades make it easier to spot stains early and act before they set.
- Avoid painted coatings: Paints can flake and trap stains in the cracks, creating hard-to-clean patterns.
- Select utensils with one-piece construction: No seams or joints means fewer crevices for sauces and oils to hide in after washing.
Combining these features in your kitchen setup arms you against future mess and protects your tools even as cooking adventures ramp up.
Bringing It All Together for Lifelong Clean Utensils
Right from the first rinse, a consistent commitment to stain prevention and prompt cleaning keeps every kitchen utensil ready for action. Follow proven steps and you’ll find stains kitchen utensils develop fade faster and show up less.
Experimenting with both home staples like lemon and baking soda, plus special care for tricky materials, means your tools always look their best. A little advance planning also streamlines post-dinner cleanup for busy households.
Adding these habits now saves hassle later, letting you cook confidently without worrying about stains kitchen utensils suffer over time.
Frequently Asked Questions
How do I quickly remove red sauce stains from a plastic spatula?
Rinse the spatula immediately in cold water, then scrub with a baking soda paste. If any color remains, soak fifteen minutes in lemon-juice water and re-scrub. Repeat as needed, avoiding harsh scouring pads.
What’s the safest way to clean wooden spoons with stubborn stains?
Rub coarse salt and half a lemon into the stain, rinse well, and dry. Finish with a small amount of food-safe mineral oil to prevent future stains kitchen utensils like spoons attract from sauces and oils.
Can baking soda harm metal utensils during stain removal?
Used with soft cloths, baking soda is non-abrasive and ideal for removing stains kitchen utensils. Avoid metal scouring pads, as these may scratch and dull the finish of your stainless steel spoons or whisks.
How do I prevent stains on silicone spatulas?
Wash silicone tools right after use with dish soap. Avoid strong dyes. Store utensils dry, away from colored sauces. Using a lemon-juice rinse monthly also repels fresh stains kitchen utensils pick up during busy cooking weeks.
Is it safe to use bleach for stubborn stains on utensils?
Diluted bleach works in rare cases for stubborn discoloration, but it may damage softer materials. Rinse thoroughly and use this method sparingly. Natural solutions like vinegar or hydrogen peroxide remove stains kitchen utensils safely and reliably for most home cooks.