
Professional industrial kitchens run on precision and routine more than most people realize. Each day, countless small decisions about where and how to store items help prevent cross contamination storage, safeguarding every finished dish.
One poorly placed tub of raw chicken or container of allergens can spiral into safety issues, wasted food, and massive headaches. This is why commercial kitchens give storage protocols serious attention.
By the end of this guide, you’ll know how to set up your storage so that food safety feels like second nature. Use these actionable strategies to protect meals, staff, and your peace of mind.
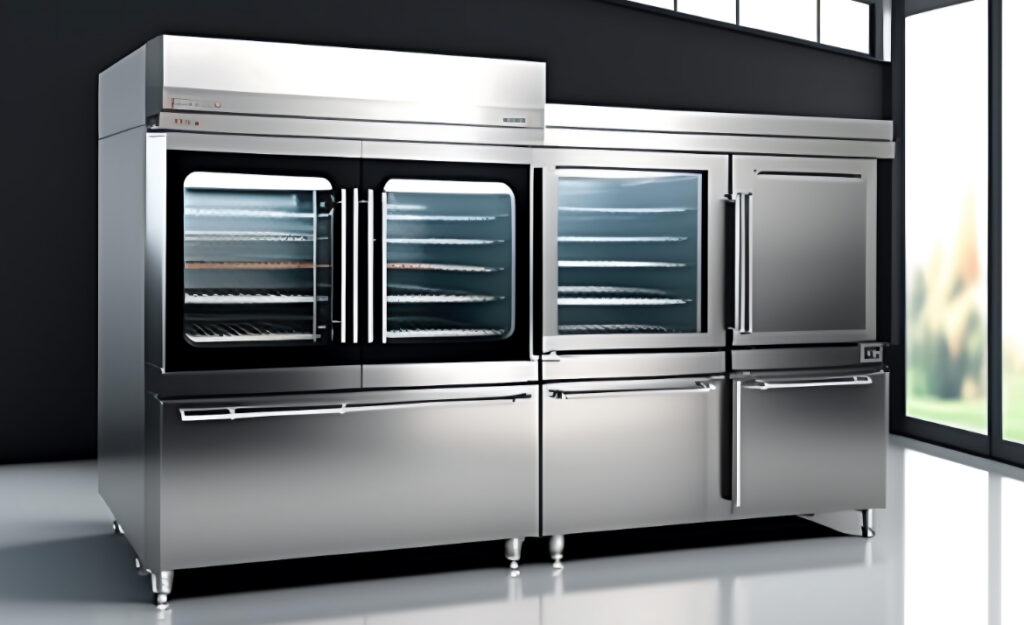
Organizing Storage Zones Reduces Risk Immediately
Start by mapping out storage zones that match food types and preparation flow, so raw proteins never share shelves with ready-to-eat vegetables. This structure blocks accidents before they can happen.
Temporary fixes fall short. Deliberate zoning significantly raises your team’s food safety confidence and consistency. For example, designate separate spaces for different protein types, fresh produce, and dry goods.
Food Type Segregation Keeps Ingredients Safe
Make it easy for staff to store raw poultry, seafood, and beef in discrete refrigerator zones – use colored bins or shelf labels. This habit guards against accidental mixing, especially during busy prep hours.
Let team members know it’s the top shelf for cooked and the bottom shelf for raw. “Let’s not stack today’s prepped salad above Saturday’s chicken breasts,” is the kind of reminder that reinforces clarity.
Set a weekly calendar note so supervisors can audit and reset misplaced items. Visible, unambiguous labeling and routine checks signal clear standards and make daily compliance easy for everyone.
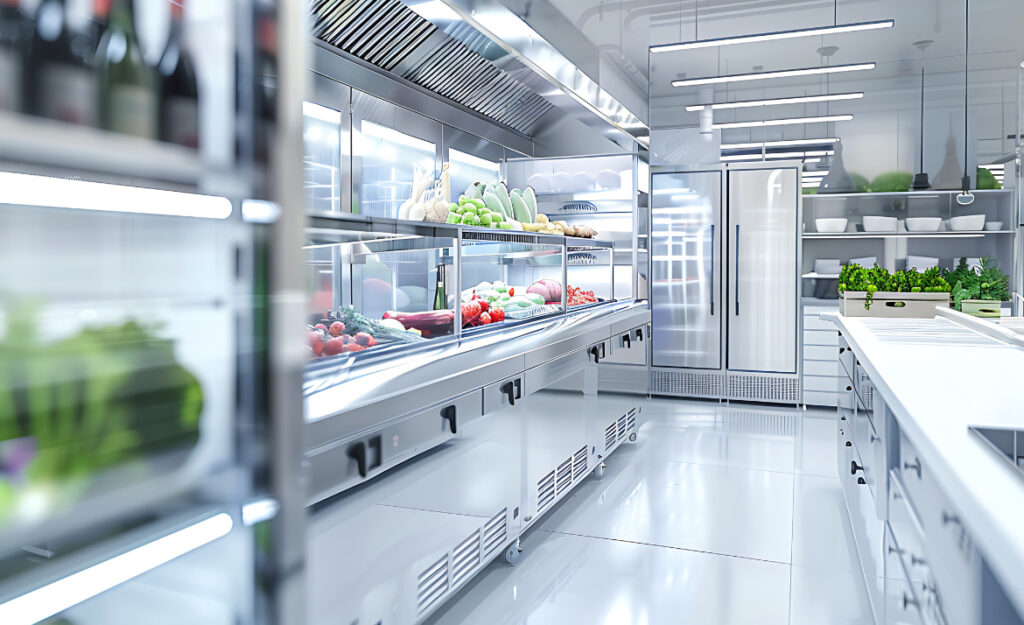
Spatial Layouts Reflect Meal Assembly Workflow
Organize shelving so ingredients flow from storage to prep to plating with no awkward backtracking. For example, position sauce containers close to the cooking line but far from raw proteins.
In walk-in fridges, group items by proximity to the door—quickly needed produce close, slower-moving items deeper inside. This limits how far staff penetrate with potentially contaminated hands or tools when searching for supplies.
Make space for a “holding zone” where cleaned containers are staged before being filled again, not in contact with any opened food. Staff will adopt this micro-habit if it saves time and steps.
| Storage Zone | Main Contents | Color Code | What to Check Daily |
|---|---|---|---|
| Raw Protein | Poultry, Beef, Seafood | Red | Leakage, Date Labels |
| Vegetables | Fresh Produce | Green | Wilting, Cross-contact |
| Cooked Foods | Prepared Meals | Blue | Temperature, Covered |
| Dry Storage | Pasta, Canned Goods | Yellow | Spills, Container Lids |
| Allergens | Nuts, Dairy | Purple | Isolation, Label Integrity |
Labeling Protocols Reinforce Correct Storage Choices
Labels create visual prompts so storage mistakes become rare. Clear, color-coded, and detailed labeling turns fridge and pantry spaces into predictable, rule-abiding environments.
Matching label systems to shelving makes it nearly impossible for staff to place ingredients in the wrong spot, even during shift changes or busy rushes.
Make Labeling Systems Foolproof
Build a routine around matching bold color labels to assigned storage containers. Use thick markers for writing dates and food types, along with tamper-proof tape for critical allergens.
- Assign blue labels for cooked item bins: reduces confusion, especially during meal service
- Place red tape on raw meat containers: signals extra caution required during handling and cleaning
- Implement green labels for produce: a glance confirms nothing dangerous is nearby, which keeps plant-based foods safe
- Use purple for top allergens: stands out clearly on carts, counters, and serving trays
- Print labels with both food names and prep dates: ensures staff always know product age and status at a glance
Labels with color and writing together support new employees and keep veterans sharp during busy hours.
Audit and Rotate Labels Every Shift
At the end of each shift, a kitchen supervisor cross-checks label colors and dates for accuracy. Record any fixes needed in a quick kitchen logbook.
- Replace faded or damaged labels: increases clarity, improves kitchen safety records
- Remove outdated or incorrect tags: reduces error risk, especially with allergens or raw proteins
- Communicate label rules during pre-shift huddles: keeps everyone aware of expectations, especially part-time or new hires
- Document changes during shift handoff: creates accountability and prevents gaps in communication
- Set a quarterly reminder for full system review: guarantees long-term consistency as staff, menu items, or suppliers change
This steady routine sends a strong signal about food safety and keeps even large teams synchronized.
Separation Techniques That Are Easy to Maintain
Physically separating storage for raw proteins, ready-to-eat foods, and allergens creates solid barriers that practically eliminate risk of prevent cross contamination storage issues. Use tools and practices that fit your staff’s daily workflow.
Avoid theoretical solutions. Choose systems like bin dividers, stackable racks, or air-tight tubs that make “doing it right” the default, even under pressure.
Visual Boundaries Make Rules Obvious
Using plastic shelf guards, color-coded tubs, and aluminum pan lids creates a landscape where boundaries can’t be missed or misunderstood. When containers differ by color and shape, everyone knows where items belong.
For example, place a red bin only on the lowest fridge shelf for raw poultry, with a printed sign at eye level: “Raw Protein Only – No Exceptions.” This visual cue prevents accidental mixing, even for new staff or temps.
Encourage supervisors to do a two-minute “boundary check” at the start of each shift. If a tub is out of place, they set it right and explain why. Consistency becomes habit.
Container Choice Impacts Food Safety
Opt for containers with locking lids for raw proteins and allergens, preventing accidental leaks or airborne cross-contamination. Avoid stacking unsealed items that might spill or drip onto lower shelves.
Use clear bins for produce, so every team member can check freshness without opening or moving items. This reduces unnecessary contact and keeps vegetables protected from protein splashes or contact.
Label each container by both type and intended shelf, e.g., “SEAFOOD – LOWER RIGHT FRIDGE.” Paired with shelf label strips, this system ensures nobody can just “put something anywhere.” Protection comes from precision.
Allergen Management: Separate, Label, Communicate
Allergen management relies on consistent separation, rigid labeling, and immediate communication between staff members. Walk-in coolers and dry storage need specific areas for nut, dairy, or gluten-containing ingredients to prevent cross contamination storage mistakes.
Make sure zones for allergens are easy to spot at a glance and clearly marked for everyone, including delivery personnel or cleaners who might enter the kitchen during service.
Assign Dedicated Allergen Shelves and Containers
Place a purple-taped shelf or container in every relevant storage zone, exclusively for allergen items. For example, a top right section in the walk-in fridge just for dairy or a lower left bin for baking nuts.
Encourage staff to verbalize allergen movements out loud, for instance, “Moving dairy to the prep shelf!” during shift transitions. This verbal cue reinforces physical boundaries in the moment, aiding accountability.
Train new hires with micro-scenarios: “If you see a nut container in the general dry bin, stop service and notify the supervisor immediately. Never move it yourself – wait for oversight.” Consistent outcomes depend on routine and repetition.
Communication Scripts Avoid Silent Slips
Place laminated communication scripts near allergen zones. Example: “If handling allergen product, wash, glove, and sanitize before touching anything else.” Visual reminders decrease hesitation and boost awareness under pressure.
Have managers perform weekly “script drills” at staff meetings. Pick a real kitchen example (“Flour bin on wrong shelf — what’s the response?”). This ensures old habits don’t slowly creep back.
Keep a clipboard handy for allergy incident logs. If something goes wrong, document the time, location, and staff involved. This record closes the feedback loop and guides updates to procedures or training.
Rotation and FIFO Keep Storage Fresh
Using the First-In, First-Out (FIFO) rotation method in your industrial kitchen makes sure older items get used before new stock, reducing spoilage and lowering the risk of prevent cross contamination storage mishaps.
Team members can spot if an item’s shelf life is about to expire and move it up in the queue or discard it. This system not only saves money but also supports safety.
Incorporate FIFO in Daily Routines
Line staff begin each shift by scanning labels, moving closer-dated stock within reach. For example, “Move today’s eggs to the front; new delivery in the back.” Small steps repeated daily reduce surprises and losses.
Supervisors keep a clipboard tally of expired or discarded stock. This feedback forms the basis for future bulk purchasing or menu changes, making inventory smarter over time.
Encourage a mini-checklist for each cooler or dry zone. “Front row: oldest stock, back row: latest delivery.” These habits let even new hires quickly follow the right storage flow without questions.
Standardize Removal of Expired Goods
Post shift checklists at every exit. The last person leaving the walk-in checks for outdated labels, spoiled items, or incomplete rotation. Their note in the logbook finalizes accountability and keeps everyone on track.
Make it clear—expired items never move to ‘hold for later’ or ‘maybe usable’ bins. They’re always trashed to remove guessing games from the floor, preventing food safety confusion.
Any pattern of excessive discards (more than two similar items a week) triggers a short root-cause review with the manager. This ensures repeated issues get quick, targeted solutions—just note it on the tally sheet.
Staff Training Anchors Safe Storage Habits
Training programs root storage protocols so deep into daily action that prevent cross contamination storage becomes instinctive. A mix of hands-on demonstrations, short written quizzes, and roleplay scenarios cements each lesson for every team member, new or experienced.
Rotate trainers among teams, so even the most experienced staff hear expectations in new ways and stay sharp about shifting food safety needs from new menu items or suppliers.
Starter Script for Onboarding
Walk new staff through storage areas, pausing at each zone. “Raw chicken always stays in the red bins, never above produce. Label and date everything before it hits a shelf.” Simple, repeated phrases build muscle memory faster than complex checklists.
Pair trainees with a buddy: “Let’s check the dry storage together—do you remember what color for nuts?” Having a guide for the first three shifts builds reliable habits while cutting mistakes in real time.
Post a large infographic or laminated chart by every entryway. A quick glance before grabbing supplies prevents shortcuts and reinforces the layout of each zone so team members never have an excuse for errors.
Simulation Drills Improve Response
Quarterly, schedule a simulated cross contamination event: place a false allergen container in the veggie shelf, and watch for a correct team response. “Stop, notify, separate, log.” This practical drill keeps staff aware and ready.
Reward staff who document a near-miss, like spotting an item in the wrong zone before it causes issues. Celebrate this as a win for vigilance, not as a punitive action. Positive reinforcement drives results.
Regular, low-pressure quizzes with prizes (such as meal vouchers or extra break time) keep safety knowledge fresh. Even if a staff member misses a question, the follow-up discussion makes the learning stick.
Solidify Safe Habits for Reliable Results
Stay consistent with organizing, labeling, and physically separating goods in your industrial kitchen. These habits naturally keep prevent cross contamination storage at the forefront of everyone’s mind and routine.
Even the busiest kitchen can run confidently when staff know the system, labels are clear, and every container has its rightful home, day after day. This protects every meal, every time.
Daily success in food safety grows from continuous, tiny actions—every shelf check, every shift’s audit, and every brief staff huddle. The investment in these habits always pays off in the long run.
Frequently Asked Questions
What is the most common cross contamination storage mistake in industrial kitchens? Placing raw proteins above ready-to-eat foods, allowing juices to drip down, is a critical error. Always store raw proteins on the lowest shelf in sealed containers to block this risk and reinforce safety every day.
How can I encourage my kitchen staff to follow storage protocols? Use a mix of positive reinforcement, quick visual reminders, and hands-on training. Check in daily, and give public shout-outs for spotting or correcting misplaced items. Repetition and recognition reinforce the right habits and minimize mistakes over time.
Should we separate allergen items even in dry storage? Yes, dry goods containing nuts, gluten, or dairy need dedicated areas with marked shelves and containers. This keeps even non-perishable foods from contaminating others during storage, handling, or transfer.
How frequently should I audit and update my labeling and storage practices? At a minimum, conduct weekly audits and do a full system review quarterly. Whenever you add a new menu item or supplier, immediately check that your storage zones and color codes still apply and update as needed.
Can reusable containers increase the risk of cross contamination? Only if they’re not labeled, not cleaned between uses, or shared between incompatible foods. Always sanitize and relabel containers before switching the food type—never use one container for both raw and cooked foods.