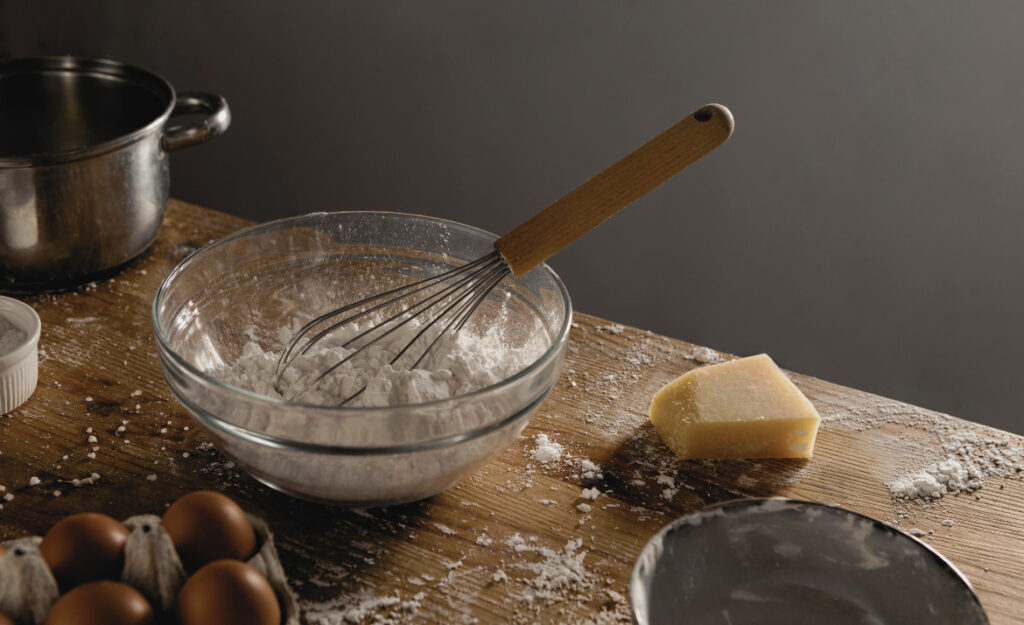
No one wants a kitchen full of unreliable or worn-out tools. Whether you’re new to baking or a seasoned cook, it pays off to maintain whisks kitchen equipment so your recipes always turn out just right. Keeping your whisks in peak condition adds reliability to every dish, from the creamiest sauces to stiffest meringues.
Whisks play a key role in both home and professional kitchens. When we neglect them, results quickly suffer. Stuck-on batter, bent wires, or rust spots can mess with both efficiency and food safety. Regular care ensures you can trust these tools, batch after batch.
Learn how to maintain whisks kitchen utensils for longer, more dependable use. This article shares step-by-step techniques, helpful routines, and specific tips anyone can use, whether you’re prepping dinner or organizing a bustling kitchen. Let’s ensure your whisks deliver every time.
Setting a Clean Routine Guarantees Reliable Whisks
Clearing debris quickly and cleaning whisks after every use keeps them trustworthy. This one habit prevents stubborn buildup and reduces frustration long-term. Always start with a plan to wash your whisks promptly post-use.
Once batter or eggs begin to dry, cleaning gets harder. Swift action saves time and effort. As you rinse under warm water, gently splay the tines apart. This lets hidden mixture slide free, maintaining whisk shape and function.
Removing Stuck-On Food Before It Hardens
Don’t let egg or batter dry on your whisk. Hold it under warm running water instantly after use. Use your fingers to work through the loops so no residue remains.
For thicker messes, try a nylon brush. Move in the direction of the wires to avoid bending. Only apply light pressure—forcing stubborn food causes distortion.
Dry thoroughly with a towel. If water lingers, rust and odors can develop. Stand the whisk upright while drying to encourage air circulation and full evaporation.
Disassembling Whisks With Removable Handles
Some modern whisks let you detach the handle for deeper cleaning. Unscrew or pull apart as designed and wash each piece separately. Rinsing joints and threads ensures no buildup in hard-to-reach spots.
Inspect the attachment point. Food trapped there accelerates wear or harbors bacteria. Reassemble only when every component is fully dry.
This habit reduces stickiness around grips and gives you confidence that every surface is sanitized properly.
| Cleaning Method | Tool Required | Time Needed | Best For |
|---|---|---|---|
| Quick Rinse | Warm Water, Hands | 30 Seconds | Whisks just used for eggs or liquids |
| Soak & Scrub | Nylon Brush | 5 Minutes | Batter or dried food on tines |
| Dismantle & Wash | Removable-Handle Whisk | 10 Minutes | Deep cleaning, handled models |
| Dishwasher Safe | Dishwasher | 5-60 Minutes | Stainless whisks only, full sanitation |
| Baking Soda Paste | Baking soda, water, cloth | 3-8 Minutes | Tough stains, discoloration |
Choosing the Right Storage Prevents Damage Every Time
Consistent storage preserves your whisks and reduces accidental bending. Instead of tossing whisks in crowded utensil drawers, pick a dedicated spot that keeps every tool’s shape intact. This is an essential step to maintain whisks kitchen gear.
Allowing whisk wires to catch on other utensils or slam against drawer sides causes flaring and misshaping. Hanging storage or a divided rack keeps each whisk ready for the next use and avoids tangle ups.
Setting Up a Dedicated Whisk Holder
Install an inexpensive rack on a wall or inside a cabinet door. Use clip-style holders or simple hooks, spacing them wide enough so wires don’t tangle. Hanging vertically reduces dust and accidental drop damage.
- Mount a magnetic strip in your prep area; keep each whisk separate and instantly accessible for mid-recipe reach.
- Designate a section of your utensil crock for whisks only, so tines don’t get caught on heavier tools.
- Opt for drawer organizers with slots that keep whisks separated, even if storage space is tight.
- Protect delicate balloon whisks by using mesh bags or soft covers made from old clean dish towels.
- Rotate whisk positions every few days if you keep several in one crock to prevent permanent wire splaying.
Integrated storage solutions like these uphold the integrity—and the lifespan—of each whisk. Organized storage pays off whenever you need unwavering performance for critical recipes.
Using Labels to Keep Track of Whisk Types
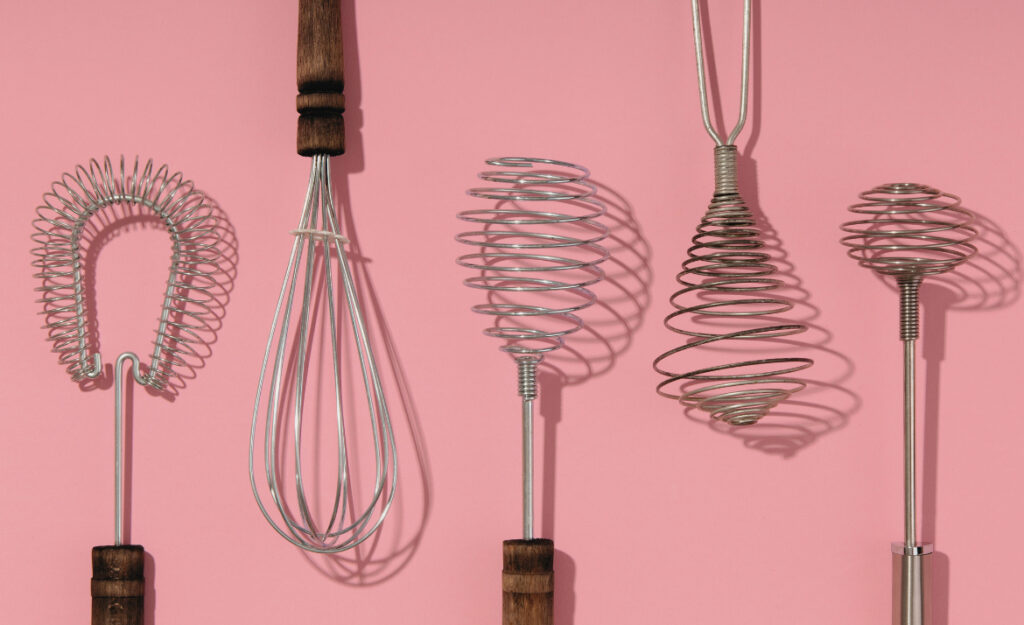
Different whisks serve unique purposes. Clearly label storage spots by type: balloon, flat, or coil. This makes it easier to grab the right tool during cooking, and ensures each one gets cleaned and returned correctly every time.
- Place removable labels on each holder (“balloon” or “sauce”) to avoid mistakes.
- Color-code handles or hooks for quick visual sorting.
- Store flat whisks in a tray apart from round ones to prevent wire deformation.
- Use a marker to jot purchase dates discreetly on the handle base—this helps monitor overall tool age.
- Keep a checklist near the storage area to quickly spot missing or damaged whisks post-cleanup.
Structuring storage with clear labels speeds up kitchen work and encourages better whisk maintenance among all users, not just the main cook.
Applying Safe, Gentle Cleaning Techniques Preserves Whisk Longevity
Gentle cleaning methods are non-negotiable if you want your whisks to last. Never use abrasive pads or harsh chemicals, since these can weaken delicate metal or plastic coatings and make whisks unsafe for food contact.
Choosing Brushes and Materials that Protect Whisk Wires
A nylon or soft-bristle brush removes stuck-on food without scraping. Slightly bend stiff bristles so they follow the curve of the wires. Always scrub in a way that supports the original shape.
Avoid steel wool or scouring pads, even on stainless whisks. These scratch both wires and finish, allowing rust spots to appear faster. Keep spare soft brushes on hand in a separate cleaning drawer for all whisk maintenance.
Whisks with silicone-coated wires require special care. Use only non-scratch sponges, rinse with warm soapy water, and always dry softly—never stack heavy weights on these versions while wet.
Using Warm, Soapy Water Every Time
Consistently washing with warm, soapy water ensures food residue, oil, and bacteria are removed while being gentle on the wires. Submerge the whisk, agitate gently, and lift out slowly to check for missed spots. Rinse thoroughly to avoid soap contamination in your next recipe.
This everyday approach keeps every whisk safe for longer, while minimizing hidden buildup that shortens a tool’s usable life. If you notice a musty smell, create a mild vinegar solution and soak for five minutes.
Following this sequence every few days, especially after strong-smelling jobs, keeps whisks fresh, reliable, and fit for sensitive recipes.
Spotting and Handling Damage Quickly Avoids Bigger Issues
Early detection preserves whisks better than any replacement. To maintain whisks kitchen investments, check over every whisk before returning it to storage—this habit catches minor bends or loose handles before they turn into major disappointments later.
If you spot a bent wire, gently realign it to match the others. Use both hands for even force, gripping close to the bend. Never twist abruptly or force wires past their original position.
Addressing Rust and Discoloration
For metal whisks, small rusty spots signal the need for immediate intervention. Rub a paste of baking soda and water on the affected area, working in circles. Rinse off all residue, then dry thoroughly.
If discoloration remains, soak the tip of a cotton swab in white vinegar and target specific marks. Evaluate which whisks are showing wear fastest and move them to light-use status to delay full replacement.
Tools with severe corrosion or persistent odor should be retired without hesitation. Old whisks transferred to non-food tasks bring peace of mind for kitchen safety.
Maintaining Grip Integrity
Check handles for cracks, wobbling, or stickiness. These issues start small but create awkward handling or even unsafe tools during everyday use.
Wrap slippery handles in food-safe tape for a quick fix. If wood grips swell or split, sand lightly and oil sparingly to restore them. Monitor plastic handles for melting or clouding, especially after dishwasher cycles.
Rotate through whisks to distribute use, just like a favorite pair of shoes, ensuring every handle outlasts its expected lifespan. Taking small steps now prevents accidents and wasted meals later.
Establishing Weekly Whisk Maintenance Habits
Weekly deep cleaning and inspections pay off when striving to maintain whisks kitchen standards for reliability. Choose one day each week for a full check, making small tweaks before issues slow down your workflow.
Gather all whisks on your counter. Soak each in warm, soapy water for ten minutes, then scrub lightly. Let the whisks dry completely before re-sorting into their storage locations.
Performing a Quick-Spot Checklist
Make it a household or workplace routine: Everyone involved with cooking checks the whisks for bent wires, gunky build-up, or worn grips before putting them away. Mark any damaged whisk for follow-up repair.
Spend two minutes scanning labels and purchase dates. If you spot one that’s aging, rotate it out for lighter tasks like stirring. This keeps main-use tools at peak readiness and delays replacements.
Weekly habits like these ensure your whisks remain trustworthy through dozens of uses, keeping prep time efficient. Share the routine with all kitchen helpers for best results.
Timing When to Replace or Retire a Whisk
Knowing when to let go of a favorite whisk isn’t easy, but it’s critical for food quality and safety. If wires won’t realign or rust returns despite cleaning, it’s time for a replacement.
Maintain whisks kitchen inventory by buying quality first, then retiring tools as soon as repeated repairs or cleaning no longer restore function. Repurpose worn whisks for crafts or garden use, making the most of every investment.
Tracking Performance Across Your Whisk Collection
Keep a simple log of each whisk’s first use and major repairs or issues. Rotate older whisks to less frequent jobs as they age. Periodically compare your whisks during food prep for changes in performance—say, a sauce not thickening as quickly, or unevenly whipped cream.
Rely on practical cues over nostalgia. If you find yourself saying “this just isn’t working like before,” trust your judgment. A dependable kitchen only exists with dependable tools.
Rotate in new whisks annually for high-volume kitchens. For home cooks, plan to refresh balloon whisks every 18–24 months, depending on use. This regular update upholds quality and keeps every meal on track.
Keeping Consistency at the Heart of Whisk Maintenance
Building small, daily cleaning habits and regular inspections into your kitchen rhythm ensures your whisks are always ready for action. Reliable tools boost confidence, speed, and creative possibilities at every stage of meal prep.
Consistent routines save time. When each whisk is cleaned, checked, and stored smartly, you spend less time handling repairs and more time enjoying the results. It’s like keeping your favorite shoes polished—they’re comfortable and dependable, with less risk of mid-task surprises.
The long game—choosing gentle cleaning, smart storage, and regular maintenance—saves money on replacements and keeps every meal safe. Good whisk habits aren’t just for professionals; they are a secret advantage every home cook can use year-round.
Frequently Asked Questions
How can I prevent whisks from rusting in humid kitchens?
Immediately dry each whisk after washing. Avoid air drying in high humidity—use a clean towel instead. Store in a well-ventilated, dry area to minimize moisture exposure and rust formation long-term.
Is it safe to put my whisks in the dishwasher regularly?
Dishwashers are safe for stainless steel whisks but shorten the life of whisks with wood or coated handles. Hand-wash for longevity, and use a gentle cycle if you must use the dishwasher.
What’s the best way to store a balloon whisk to prevent splaying?
Hang balloon whisks with plenty of space between them and other tools. Upright storage in a divided rack or utensil holder also helps maintain their shape between uses.
Can I use the same whisk for eggs, sauces, and baking?
Yes, but clean the whisk thoroughly between uses to prevent flavor transfer and hidden buildup. Dedicated whisks for delicate tasks may improve performance for complex recipes or frequent bakers.
How do I know when it’s time to replace a whisk?
If wires don’t realign with gentle pressure, grips become slippery or cracked, or rust returns persistently, retire the whisk and replace it to maintain trust in your cooking results.