
No industrial kitchen lasts long without attention to its machines. Anyone seeking smooth operations knows to replace dishwasher parts routinely and at the right intervals for consistent rinses and spot-free dishes.
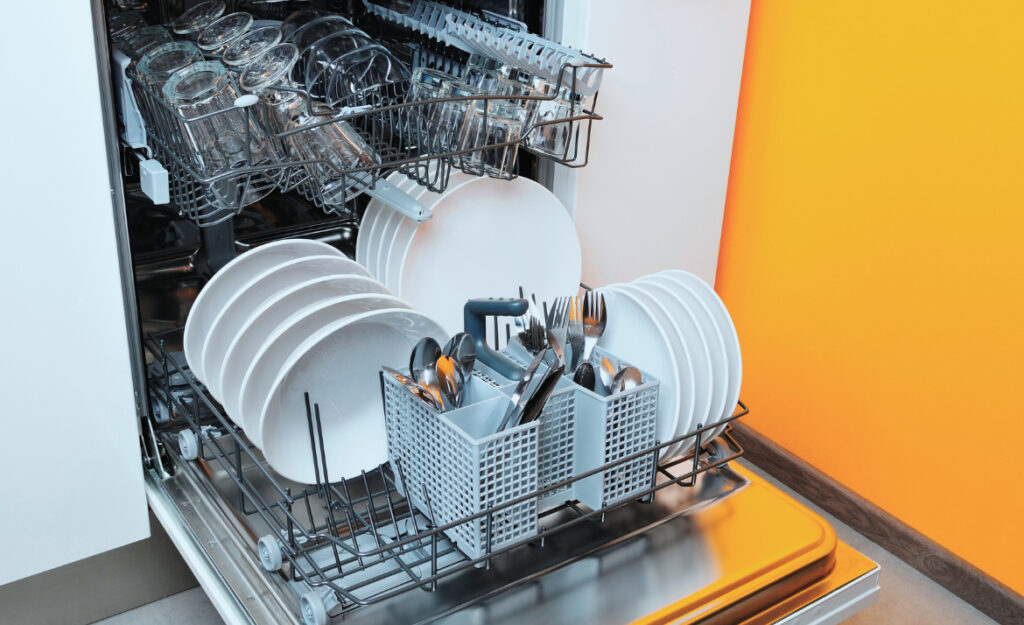
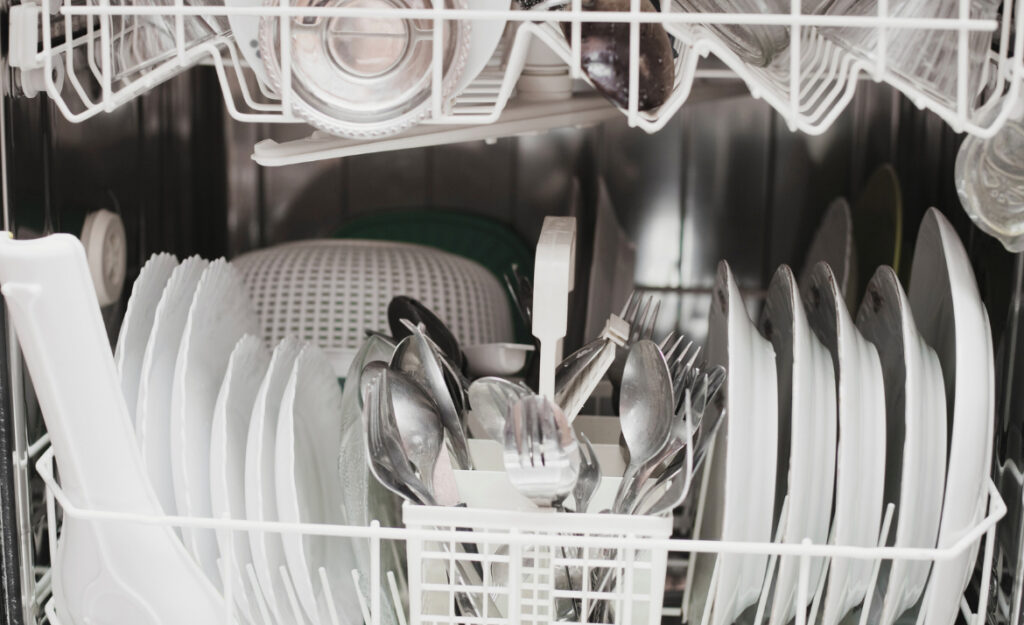
Even brand-new dishwashers develop wear under months of heavy use. Dish racks, filters, and other key parts directly influence cleaning power, water flow, and drying—regardless of the brand or setting.
Explore practical steps and real-life routines below. From finding signs of worn spray arms to cleaning filters weekly, every action improves results and reduces downtime. Let’s keep every shift stress-free and every plate crystal clean.
Filter swaps keep sterilization and water flow reliable
Replacing dishwasher filters ensures food residue doesn’t linger in industrial machines. Businesses that replace dishwasher parts like filters every few weeks see more hygienic, consistent washes and avoid stormy-smelling setups.
Food blocks a clogged filter fast in a restaurant: the machine starts rattling, and suddenly, glasses come out cloudy. In a single shift, heavy debris can cut cleaning cycles short.
Spotting the sign: What your filter tells you
Slide out the filter and inspect it weekly. If trapped food particles, white scale, or any foul odor greet you, it’s time to replace. Filters that leak around their gasket or feel brittle won’t deliver peak performance.
Chef Carmen says, “When the machine starts sounding like a rainstorm and plates are less brilliant, I swap the filter without hesitation.” This habit keeps cycles quick and sudsy.
If you spy black spots or cracks on the mesh, don’t hesitate. Set a reminder to replace dishwasher parts—especially filters—before a rush disrupts your night.
Which tools, when, and how
Filters don’t need specialty tools. Use gloves and a basin for damp filters that drip. Give the compartment beneath a firm swipe with a cloth before reinserting new parts.
Avoid bristly brushes that might scar plastic mesh. When removing a filter, twist gently but firmly so you don’t damage the housing.
Analogous to oil changes in delivery vans, new filters push gunk out so your dishwasher runs cleaner, quieter, and more efficiently—every week counts for busy kitchens.
| Part Name | Signs It Needs Replacing | Average Replacement Interval | Actionable Next Step |
|---|---|---|---|
| Filter Cartridge | Clogging, bad odor | Every 2-3 weeks | Check and replace before dinner rush |
| Spray Arm | Nozzle blockage, cracks | Every 6 months | Test spin, inspect weekly |
| Door Gasket | Leaks, stiffness | Every 9-12 months | Wipe dry, press check seal |
| Rinse Aid Dispenser | Sticking, residue | Replace as needed | Inspect monthly, wipe residue |
| Rack Wheels | Sticking, missing wheels | Every year | Roll empty racks, listen for scraping |
Spray arm replacements deliver uniform rinsing at every cycle
Dishwashers rely on powerful spray arms to distribute water evenly across loaded racks. When mineral buildup or physical damage appears, replace dishwasher parts like these to restore full spray.
You’ll spot uneven wash results or loud clicking sounds if spray arms get blocked. It’s easy to assume detergent or loading is the culprit, but old spray arms rarely perform correctly.
Fast checks for broken spray arms
Pause the dishwasher, pull out the racks, and gently spin each spray arm. If you feel resistance, hear noises, or see stuck debris, the arm’s lifespan is up. Never force a stuck arm—replace it instead.
- Remove the spray arm and run water through each nozzle hole to confirm clogging levels and speed.
- If replacements aren’t on hand, soak removable spray arms in diluted vinegar overnight once per month to manage minor scaling.
- Test spin for rotation, and if any arm doesn’t move smoothly, order a replacement for uninterrupted service.
- Never ignore surface cracks—water pressure will split them further, leading to leaks and uneven washing.
- Replace dishwasher parts before peak hours to avoid last-minute emergencies that force hand washing.
When machines start leaving behind bits of rice or streaks, it’s the right call to replace dishwasher parts like faulty spray arms—this proactive habit maintains both speed and sanitization.
Checklist for seamless spray arm changeovers
Keep the new spray arm and any required mounting hardware close by. Review your model’s manual for latch or screw locations. Unscrew, remove, align, and snap in the new arm. Test its spinning ability immediately.
- Turn off power before starting to avoid sudden surges or shocks.
- Wear gloves for cleaner grip and to avoid scratching stainless-steel finishes during removal or installation.
- Label the date of installation on a maintenance log near the dishwasher for future reference.
- Spin the new arm once by hand before reloading racks—listen for silent, resistance-free movement.
- Run one empty cycle after replacement to flush out packaging dust or loose fragments before resuming regular service.
When maintained and swapped on a seasonal schedule, spray arms support consistent rinsing and better short-cycle results. Spots and streaks fade, and dishware shines shift after shift.
Gasket upkeep prevents leaks and keeps dishwashers airtight
Gaskets serve as the unsung heroes of industrial dishwashers. They ensure each wash cycle stays contained within the machine, minimizing slippery floors and hazardous puddles in kitchens. Replace dishwasher parts like gaskets promptly for peak safety.
As gaskets age, their elasticity fades. You’ll spot drying or splitting along the rubber edge where the seal meets the door, inviting leaks and wasted energy—a replacement is overdue when these signs appear.
Rubber seal inspection method
After each closing, trace the door perimeter with your fingers to feel for indents or stiffer segments. A dull rubber edge lacks the resilience needed for daily cycles under heat and detergent exposure.
Peel one corner gently—if you hear cracking or smell anything musty, schedule a replacement. Fresh gaskets squash gently and bounce back without audible noise or resistance.
If you spot water trails below the unit or persistent drips after opening, replace dishwasher parts like the gasket without delay to avoid further complications.
Efficiency boost: why seals matter more than you think
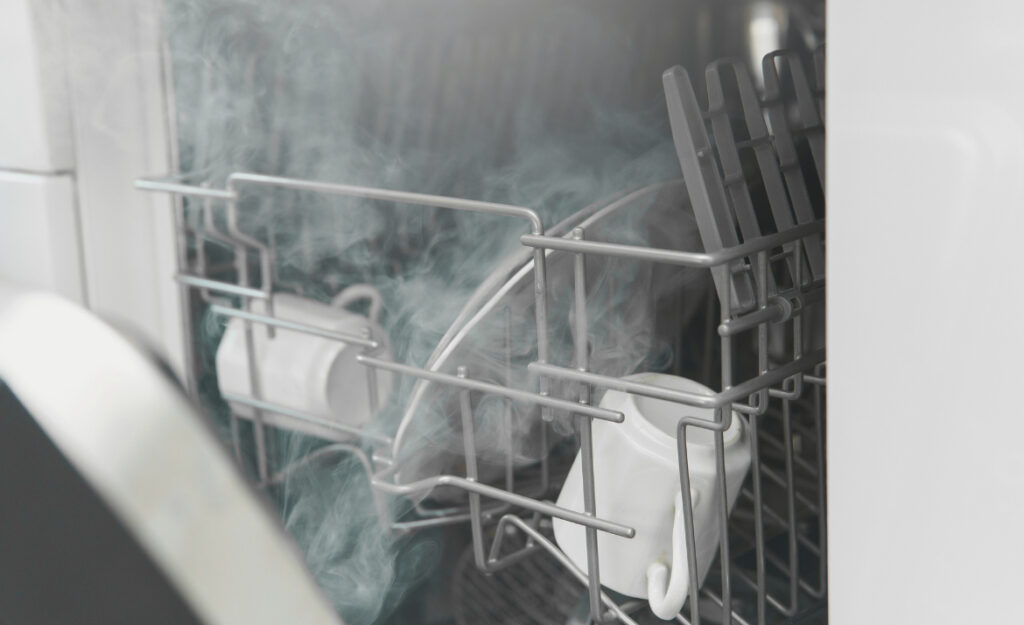
Even a slightly damaged gasket leaks hot air, creating extra work for steamers and venting systems. All team members benefit: fewer pools to mop, zero burned hands, and less fog on nearby prep counters.
Like the way weatherstripping saves on energy bills for cold storage, dishwasher gaskets maintain heat and pressure, reducing dry times. This swap ensures reliable sanitation and keeps water bills predictable.
Document the replacement in your maintenance binder and affirm gasket fit by closing the door gently—there should be no need for a hard push, and the door should feel snug yet easy to lock.
Rack wheels and guides: Ensuring easy loading every run
Reliable rack movement means no time wasted with jammed trays or crashed plates. Replace dishwasher parts like rack wheels as soon as rolling feels rough or uneven, securing faster, safer service lines.
Sticking wheels and grooves signal wear before breakage occurs. In high-volume settings, tray racks endure thousands of cycles—check them after every deep clean for loose, scraping, or missing wheels.
Mini scenario: Rolling to rescue
“Yesterday, a trainee shouted as the top rack fell out mid-load,” says kitchen manager Marcus, sighing. “The culprit? Two worn plastic wheels. Now, we keep spares taped in a drawer.”
Imagine watching staff slow down as they gingerly coax racks out, bodies tense and hands hovering to catch tumbling cups. Don’t let it get this far—replace dishwasher parts before drama starts.
Replacement racks and wheel kits snap into place with a click. Confirm that the wheels spin silently and the rack glides in with zero scraping or wobble.
For smoother stacking: guides and support rails
Guides and rails direct racks straight into wash zones. When these components bend or develop rust, the whole loading sequence goes off track, risking broken china and machine downtime.
Lubricate rails lightly with food-safe grease during each wheel change. Check for sharp edges and swap out bent or squeaky tracks quickly—precise alignment improves every cycle outcome without confusion.
Unlike the wheels, rails rarely need total replacement unless there’s a full jam or warp. Document repairs in your regular logbook and alert team members to any adjustment during the next load.
Door latches and switches: Secure cycles and quick resets
Door latches and safety switches guarantee detergent activation, tight sealing, and cycle consistency. Any resistance, missed clicks, or recurring ‘door open’ signals mean it’s time to replace dishwasher parts like these swiftly and safely.
Replacing worn latches is as much about team confidence as it is performance. There’s no room for improvising with a block of wood or rubber bands to keep commercial dishwashers running during busy shifts.
Test and replace sequences for kitchen continuity
Open the door and inspect the latch assembly. If it moves loosely, rattles, or if your hand slips off the handle during closure, the component’s integrity is gone. Don’t wait—replace dishwasher parts like these today.
Before installation, unplug the machine or use the circuit breaker for extra safety. Secure the new switch or latch, match wire connectors carefully, and test by running an empty cycle before full service resumes.
The first sign a latch is failing is when the control panel refuses to recognize a closed door. Avoid tedious troubleshooting by keeping a labeled bag of compatible latches in your storeroom for immediate swaps.
Rinse aid dispensers: Clear finishes and spotless results rely on them
Cloudy glasses and streaks are traced back to malfunctioning rinse aid dispensers in busy industrial kitchens. Ensuring you replace dishwasher parts like dispensers maintains both shine and drought-free drying every time.
Residue buildup or dispenser jamming blocks the automatic release of rinse aid, interfering with drying cycles and leaving mineral streaks on cutlery. Inspect and test this feature regularly for optimal output.
Upkeep routines for rinse aid tools
Clean the dispenser cavity monthly with a non-abrasive brush. Be cautious: never wedge metal into openings. If the cap won’t seal or you see blue gel pooling inside the unit, schedule a complete replacement.
Avoid overfilling: pour rinse aid up to the ‘max’ line only. Log dispenser changes as you would other replace dishwasher parts—this creates accountability and real-time awareness for the whole kitchen team.
Reliable dispensers mean less hand-drying, faster turnover of glassware, and improved hygiene metrics during inspections. Replace faulty items before you notice recurring spots or increased drying times during rushes.
Industrial dishwasher results rely on proactive swaps and actionable checklists
Proactive replacement of key parts ensures uninterrupted performance in industrial kitchens—no last-minute surprises, no puddles or streaks, just reliable results that help the team work faster and smarter.
Whether it’s filters, spray arms, gaskets, or racks, replacing dishwasher parts before breakdowns guarantees sparkling cutlery and smooth dinner service. This detailed attention is the difference between a night of calm and avoidable chaos.
Keep a written maintenance checklist by every machine. Delegate inspections and timeline swaps, and remind staff: proactive upkeep is the backbone of consistency in any fast-paced kitchen. Every swap counts.
Frequently Asked Questions
What dishwasher parts should industrial kitchens replace most frequently?
Filters, spray arms, and rack wheels experience the fastest wear in industrial kitchens. Replacing dishwasher parts like these every 2–6 weeks or months keeps performance consistent and avoids surprise breakdowns during peak hours.
How can I tell when it’s time to replace my dishwasher’s filter?
If glasses come out cloudy, food debris collects on racks, or the filter feels brittle or emits sour smells, it’s time to replace. Establishing a biweekly filter inspection makes the replacement schedule more manageable and keeps results reliable for every shift.
Do all dishwashers use the same replacement parts?
Not every industrial dishwasher uses universal parts. Reference your machine’s make and model for compatibility lists, always check for sizing and attachment style, and maintain a labeled inventory to avoid confusion at critical moments.
What happens if I delay replacing worn door gaskets or latches?
Leaking, machine shutdowns, and failed cleaning cycles usually follow. Prioritizing the replacement of these dishwasher parts supports a safer, drier workspace and reliably clean outcomes for all dishware used.
How do I build an effective maintenance schedule for part replacements?
Create a visible, dated log for inspections and swaps. Delegate checks by shift—morning for gaskets and filters, evening for racks and wheels. Stick to the timeline, involve the entire team, and adjust based on observed wear.