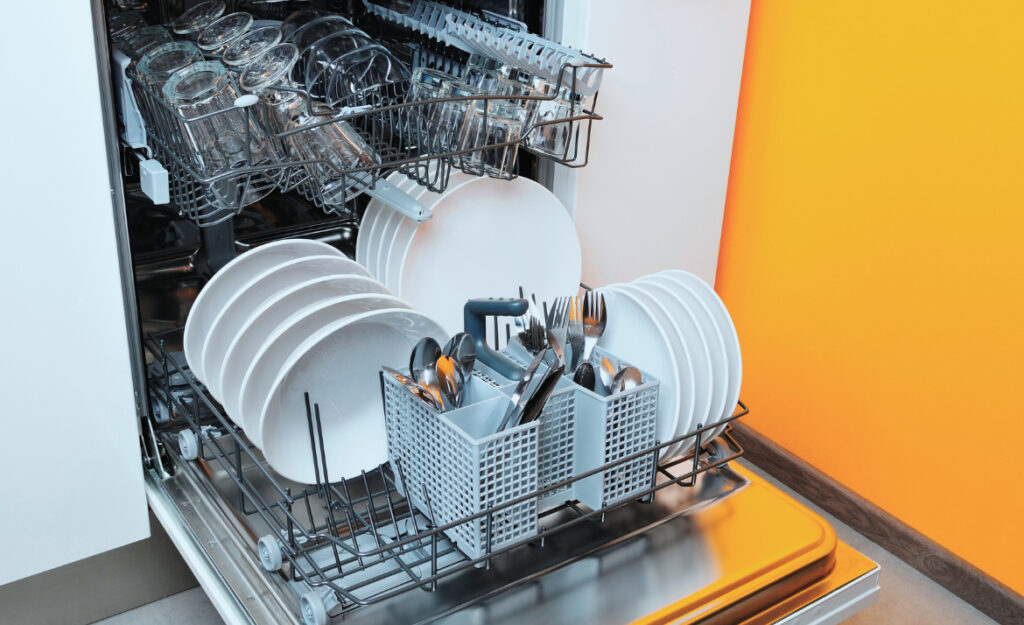

Even in the most organized industrial kitchens, stress levels climb fast when dishes pile up and the dishwasher beeps, flashes, or just stops. Navigating dishwasher troubleshooting in these environments starts long before the next lunch rush, yet most teams wait until problems shut things down.
Clean, sanitized tableware keeps customers safe and compliant with health regulations, making industrial dishwashers essential. Misdiagnosing or ignoring common errors doesn’t just slow the team—it drives up repair bills and spoils smooth service. Addressing issues early is simply good business.
This article delivers clear, actionable strategies for dishwasher troubleshooting, tailored to industrial kitchens. From fixing leaks to clearing drain clogs, discover practical advice, checklists, and tools to keep your equipment—and your crew—moving without interruption.
Pinpoint Error Codes and Warning Lights Before Escalating
Many industrial dishwashers display clear error codes or show unique light patterns when something is off. Identifying these signals quickly can help you act before a minor hiccup becomes a major service interruption.
For instance, teams usually see codes like “E24” for drainage issues or “E15” for water leaks. Write down what the screen or indicator shows. Use the manufacturer’s guide or a kitchen logbook for reference.
Translating Code Readouts into Fast Action
Error codes each have a meaning tied to specific faults. An E20 might signal low water pressure, while F02 flags detergent supply errors. Train staff to refer to laminated code charts posted near the dishwasher.
A cook racing to clear glasses will call, “We’ve got an E09 on the Hobart.” Instead of guessing, the supervisor checks the chart and directs, “Empty drain screen and check the water inlet filter.”
Assign one team member per shift to log each code and remedy in your maintenance sheet. That record speeds future dishwasher troubleshooting by revealing fail patterns and saves guesswork during busy service hours.
Reading Warning Lights Without Second-Guessing
Most models use colored lights—red for errors that require an immediate stop, yellow for attention, and green for normal cycles. When a warning light appears, pause the cycle to avoid worsening problems.
If a red light blinks, open the machine only after water stops moving. Tell the team, “Wait three minutes before opening. Safety first.” After opening, inspect the spray arms, filters, and door sensors.
Create a laminated warning light placard for each dishwasher, including reset and emergency shut-off button locations. Train new hires to point to the placard and confirm steps out loud during their first week.
| Error Code | Light Pattern | Usual Root Cause | Action Step |
|---|---|---|---|
| E24 | Red Flash | Drain blocked | Clear drain filter and restart |
| E15 | Red Steady | Water leak detected | Check pan for water; call maintenance |
| E09 | Yellow Flash | Heating element issue | Power cycle; inspect element |
| F02 | Yellow Steady | Detergent/chemical supply | Refill detergent; check pump |
| E20 | Red Flash | Low water pressure | Check inlet valve and hoses |
Fix Unresponsive Controls and Power Failures with Stepwise Checks
When the control panel won’t respond, start with safety—shut off power before inspecting. A step sequence for industrial dishwasher troubleshooting lets you isolate the exact fault.
Power issues may stem from tripped breakers, faulty door switches, or loose internal connectors. After a brief wait, try rebooting the machine fully; skipping this can mask deeper problems in relay or display boards.
Resetting Power Safely Matters
Always announce, “Powering down the dish pit,” before flipping breakers. Confirm lights and display go dark, then restart after waiting two minutes for system memory to clear.
- Announce shutdown clearly so no one is near moving parts or hot water release, which prevents accidental burns or trapped fingers.
- Assign a staff member to watch the control panel during restart. They’ll see if error lights remain, fade, or change sequence—key info for ongoing dishwasher troubleshooting.
- Record power interruptions in the shift log, noting the machine’s cycle stage. Documenting allows patterns to reveal faulty outlets, switches, or overloading from nearby equipment.
- If the display still won’t respond, swap power cords and check connections. Try a known-good extension cord for a quick test before assuming deeper electrical failures.
- Never bypass safety interlocks or force open locked service panels. These keep users safe and help secure risk coverage—always use an authorized technician for panel work.
A reset that restores full control is a win. If not, the detailed records you’ve made will speed any pro assessment or warranty claim.
Be Ready with Spare Fuses and Tools
Storing basic fuses, a screwdriver, and a multimeter close to the dish pit saves time. Running out mid-rush forces unnecessary downtime or risky improvising.
- Keep screwdrivers next to the machine so swaps or inspections happen fast and safely for approved cover plates only.
- Label fuses by amperage to prevent mistaken replacements that risk damaging panels or voiding warranties.
- Give a manager or lead chef access to a voltage tester. Confirm dead circuits before touching contacts—for-the-moment checks can mislead unless you use a meter.
- Stock a single extension cord reserved for “test only” to trace power faults without tripping other kitchen equipment.
- Once you finish, return tools to their designated hooks immediately, preventing confusion or loss when quick troubleshooting is needed again.
This habit alone cuts confusion and helps dishwasher troubleshooting become routine, not crisis-driven.
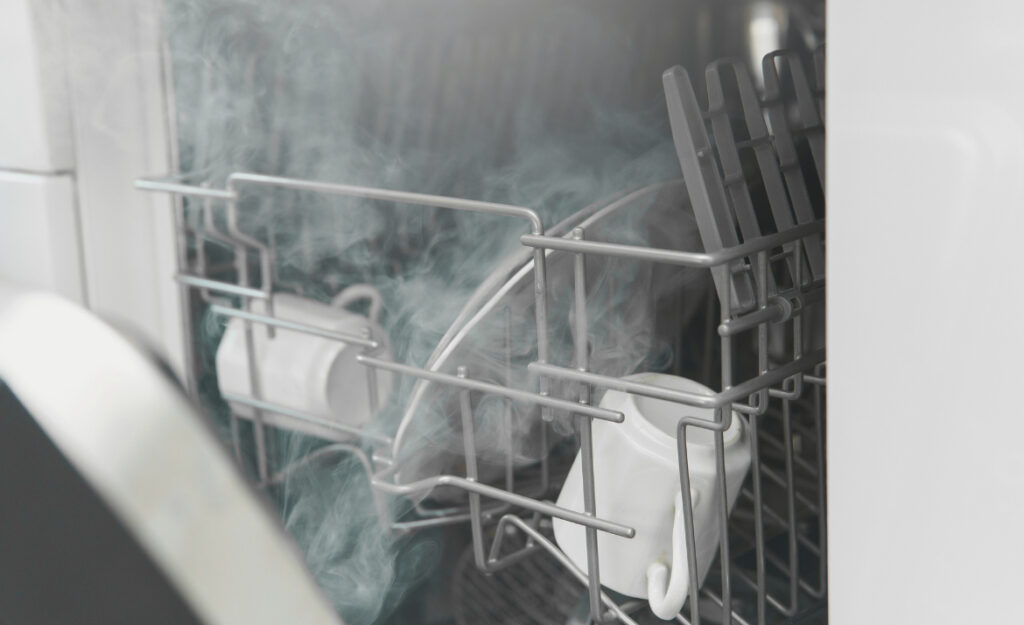
Tackle Water Temperature and Heating Fluctuations in Real Time
Consistent hot water keeps dishes sanitary and prevents missed health standards. If plates come out cold, a clear troubleshooting process restores heat fast—even mid-service.
Sudden temperature drops prompt dish teams to say, “Bowl’s still greasy—cycle just finished.” Immediate response prevents a backlog. Stick taps with a thermometer after each load to confirm wash and rinse temperatures hit target.
Calibration Sequences Ensure Accurate Heating
Initiate a manual calibration using the dishwasher’s onboard settings when temperatures seem off. Switch to test mode, then run the highest-temp cycle without dishes to monitor accuracy in real time.
Observe if the machine holds temperature, cycles the element on and off, or trips breakers. Record readings beside reference marks taped to the door.
If discrepancies arise, compare thermometer readings to the control display. Document any gap—say, 8 degrees low—and note the need for tech calibration or element replacement in the log for warranty support.
Adjust Hard Water Settings for Optimal Heat Performance
Hard water quickly undermines heat transfer by coating elements with scale. Run descaling cycles monthly, following a checklist by the machine or taped inside the chemical cabinet door.
If heating slows or temperature alarms trigger, check for scale on heat elements or wash jets before calling for outside help. Scraped-off buildup helps restore wash performance immediately.
For zones with persistent mineral buildup, consider inline water softeners. This investment pays for itself by minimizing downtime for heating errors and keeps regular dishwasher troubleshooting quick.
Improve Drain Flow to Resolve Backups and Flood Risks
When water drains slowly, trays stack up and dishwashing grinds to a halt. Junk or food debris frequently block filters and drains—clearing these fast is a fundamental skill in industrial dishwasher troubleshooting.
Walk the process stepwise each shift. Observe when pooling water lingers. The faster this gets solved, the less risk of slipping accidents or a breached drainage system that requires deep cleaning.
Cleaning Filters and Screens for Consistent Flow
Assign team members to clean filter baskets every other shift, not just when slow-downs start. A filter full of pasta scraps or melon peels explains slow drains more reliably than anything electronic.
Pull out screens using work gloves and soak them in sanitizer. Emphasize rinsing under warm water and scrubbing out sticky waste before re-installing filter parts correctly.
To check for proper fit, run a rinse cycle with two racks in place. If water drains in under a minute, filters are well-seated. Slow drains mean re-cleaning or replacement is needed.
Use a Plunger or Wet Vac Strategically When Clogs Persist
Persistent backups need decisive but gentle intervention. Use a plunger at the drain’s entry, not forcing, but gradually increasing pressure until water moves. Body weight works best, not sudden shoves.
When a clog resists plunging, deploy a wet vac for twenty-second bursts to draw out stubborn gunk. Never stick hands where water still collects—power down first, then use tools for safety.
Keep a maintenance log recording frequency and severity of drain issues, helping diagnose chronic upstream plumbing or user behavior problems. Share findings at shift briefings, highlighting trends and actionable fixes.
Restore Spray Arm Pressure for Reliable Cleaning Results
Steady spray arm movement ensures even cleaning across every rack, every load. When jets pulse or skip, dishes don’t sanitize. Address spray pressure right away using hands-on observation and easy-to-repeat sequences.
Listen for uneven sounds during cycles—steady swooshes indicate good pressure, while clicks or pauses signal debris inside the arms. Teach staff to spot these tells early.
Remove and Rinse Spray Arms Without Delay
Unlock and drop spray arms as part of daily closing duties. Shake them gently over a sink. If water drips slow or unevenly or jets appear crusted, run water through each orifice and poke clear with a toothpick.
Use a small flashlight to inspect the jets from both sides. If you notice a cloudy film, soak arms in a solution of vinegar for fifteen minutes, rinse thoroughly, and reinstall.
A strong, even stream from every nozzle confirms repairs. If partial blockages persist, document the issue in your troubleshooting log so maintenance staff can intervene between shifts.
Replace Worn or Damaged Components at Signs of Failure
Watch for hairline cracks in spray arms or joints that leak under pressure. Remove any part with clear damage and replace with a manufacturer-approved spare from your stockroom.
Continue observing each wash’s consistency for a week after a swap. If issues recur, consider upstream pressure fluctuations or chemical imbalances as contributing factors needing further dishwasher troubleshooting.
Maintain a marked box or shelf for “ready-to-install” replacement spray arms. Encourage each closing shift to check this inventory, ensuring every breakdown gets downtime cut to minutes, not hours.
Address Common Door and Gasket Failures Swiftly
Door latches and seals defend against leaks and needless energy waste. In busy kitchens, even a slight misalignment or worn gasket can spill water and trigger recurring error codes. Proactive dishwasher troubleshooting here saves cleanup headaches and money.
Monitor every close—listen for the solid ‘clack’ as the latch engages, and scan for visible gaps or drips. A quick response means a safer, dryer kitchen for all workstations.
Check and Realign Door Latches Regularly
Industrial dishwashers take daily abuse, so expect latches to shift out of line. If the panel feels loose, check hinge screws and guide rails for wobble or debris before adjusting or tightening connections.
If doors don’t close flush, loosen brackets slightly then re-tighten while gently holding the door perfectly level. Use a bubble level for precision and ensure a true seal every shift.
Poor latch fit often causes error beeps or stops cycles. Log each incident so recurring problems prompt the purchase of upgraded latches or replacement kits, boosting long-term reliability.
Inspect and Replace Gaskets When Wear Appears
Seals inevitably degrade from hot water, soaps, and heavy use. Feel for soft spots or cracks with gloved fingers each week. A worn gasket will flex and not rebound with fingertip pressure.
Replace damaged sections using a pre-measured replacement, matching the manufacturer’s part number. Begin at the top corner and press evenly along the groove, confirming no gaps or stretched zones on installation.
Once replaced, run an empty cycle and check for leaks or condensation. Each fixed gasket supports efficient, uninterrupted dishwasher troubleshooting and a safer workspace.
Keep Detergent Flow and Chemical Dosage Consistent
Steady detergent and rinse aid flow ensures sanitization every cycle. Diagnosing feed errors lets you solve streaks, spots, and regulatory concerns before inspections or complaints arise, transforming dishwasher troubleshooting from stress to routine assurance.
Promptly address warning lights or audible alarms from feeder units. Even ‘low chemical’ alerts can mask blockages or hose cracks that demand immediate repair by kitchen or maintenance staff.
Check Dosing Pumps and Supply Lines Each Week
Every Monday, open the chemical cabinet, observe lines for drips, kinks, or soft hosing. Replace anything showing wear—and keep spare segments and clamps ready in your storeroom to reduce downtime.
If a cycle ends with streaked utensils or glassware, prime pumps manually and check viscosity. Clogged feeder tubes respond best to a flush using warm water if compatible with your system design.
Teach closing staff to verify that detergent drums and rinse aid tanks remain at least half-full. Mark levels after each shift and confirm orders in your stock rotation—never assume tomorrow’s delivery until items arrive and are logged.
Summing Up Repair Strategies for Reliable Service
Effective dishwasher troubleshooting in industrial kitchens relies on quick detection, record-keeping, and clear routines. Teams win when common code errors, leaks, and chemical failures get solved with repeatable steps and proper backup supplies.
Well-trained staff don’t just fix dishwashers—they anticipate needs, prepare checklists, and stay ahead of problems that impact safety, cleanliness, and the bottom line. Every improvement pays off during peak service.
Share these practical methods and analogies with your kitchen crew. Make troubleshooting a habit, not a last resort, and watch as every cycle ends with fully sanitized, spotless dishes and smooth, confident teamwork.
Frequently Asked Questions
What should we check first if the dishwasher won’t turn on?
Begin by confirming the power breaker is on, the power cord is secure, and that no one has accidentally triggered an emergency stop button. If these are correct, try a full reboot before calling for technical help. Document each step for future reference.
Why does our industrial dishwasher keep tripping mid-cycle?
Mid-cycle trips point to overloaded circuits, or, more commonly, overheating elements and worn door safety switches. Always note the cycle stage and error code when it trips. Replace problem parts with manufacturer-approved spares, and update maintenance logs for every incident.
How do we prevent drainage problems in our dishwasher?
Schedule daily or per-shift cleaning of filter baskets and drain screens, making the task part of every team closing checklist. Mark repeat clogs in your logbook to find patterns, and adjust staff training or chemical use if necessary to reduce long-term blockages.
What’s the best way to address frequent detergent feed errors?
Check chemical supply lines each week for cracks, kinks, or leaks, and keep backup pumps and replacement tubing on-site. Never let chemical tanks fall below half-full, and prime or flush dosing pumps whenever a cycle ends with spotty or unsanitized results.
Why do we see cloudy results even after troubleshooting spray arms?
Cloudiness can result from hard water deposits, improper chemical dosage, or persistent blockages in jets. Run a descaling cycle, review detergent strength, and double-check outlet spray for even flow after cleaning. Address all three areas to maintain top cleaning results.