
If you’ve ever walked into a sweltering industrial kitchen just as the walk-in fridge gives up, you know urgency. No chef wants to toss spoiled food or scramble for ice.
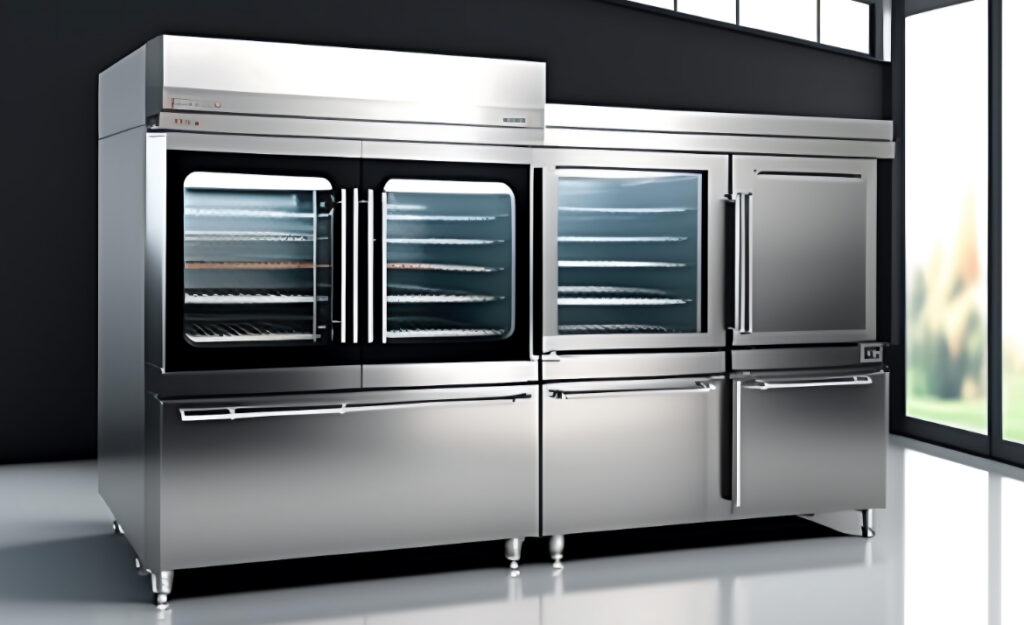
Industrial kitchens rely on refrigerators that run hours non-stop, exposed to constant opening, heavy loading, and fluctuating warmth. Managing efficient cooling ensures food stays safe, fresh, and ready for rushes—miss a beat, and it’s chaos.
By diving into refrigeration troubleshooting, facility managers and chefs will spot issues, fix simple faults fast, and prevent chaos. This guide shows exactly how to keep those chillers—and your kitchen’s flow—running smoothly.
Assessing Refrigerator Temperature Problems within Minutes
Swiftly diagnosing a temperature issue in an industrial kitchen creates time for a fix before food safety is at risk. The following steps zero in on practical refrigeration troubleshooting.
Start by feeling for warm spots inside the fridge or checking for sweating on the exterior, which signals rising temperature. Heads nod and brows furrow as kitchen staff notice butter softening or yogurt nearly melting.
Checking Manual Thermostat Settings for Accuracy
Slide open the fridge door. Locate the thermostat dial or digital screen. If it’s set above 40°F, turn it down. Listen for the compressor to engage, a soft humming followed by blowing air.
Next, test the temperature by placing a reliable fridge thermometer mid-shelf. Wait fifteen minutes before comparing readings—often, manual settings need tightening when kitchen heat ramps up.
If readings don’t drop, note any discrepancies and move to physical checks. Alert your team: “We’ll monitor shelves hourly until temps stabilize.”
Inspecting Door Seals and Gaskets Under Pressure
Run your hand along the fridge gasket for drafts or sticky spots. A dollar bill pinched in the door should tug out with effort. If it slips easily, there’s your culprit.
Cracked, brittle, or moldy gaskets lead to air leaks, forcing compressors to run overtime. Replace damaged sections promptly—pro tip: use food-safe lubricant to prevent friction and future damage.
When replacing, align all corners snugly and test again. Update your log: “Seal replaced 8:30 AM, temp holding 37°F, monitoring for improvements.”
| Symptom | Quick Test | Likely Cause | Immediate Action |
|---|---|---|---|
| Warm fridge air | Feel shelves, use a thermometer | Door left ajar, high setting | Close door tightly, adjust setting |
| Frost build-up | Inspect coils, look for ice | Gasket leak or defrost issue | Defrost, check and clean seals |
| Water pooling inside | Check drain pan | Clogged drain, excessive door opening | Clear drain, train staff on quick closing |
| No humming sound | Listen for compressor | Power outage, faulty relay | Check supply, call technician |
| Frequent cycling | Note compressor on/off pattern | Dirty condenser, sensor fault | Clean coils, inspect probe |
Pinpointing Airflow Disruptions and Their Solutions
Discovering what’s blocking proper airflow in an industrial fridge protects your ingredients from uneven cooling or frost. You’ll find out exactly where to look and which actions to take.
Start by scanning for boxes or trays stacked right against evaporator fans. When airflow is blocked, you’ll hear the fan straining or spot frost on one side.
Clearing the Path for Cooling Fans
Move containers away from visible vents, ensuring a hand’s breadth of space all around. Alert kitchen staff: “Leave at least four inches between food and the back wall for clean airflow.”
- Shift boxes off air vents — this prevents hot spots and keeps cooling steady across all shelves. Nudging trays apart lets cold air move freely from fans.
- Stagger pans vertically — leaving space under trays ensures even cooling above and below, reducing risk of thawed chicken or limp greens in busy service.
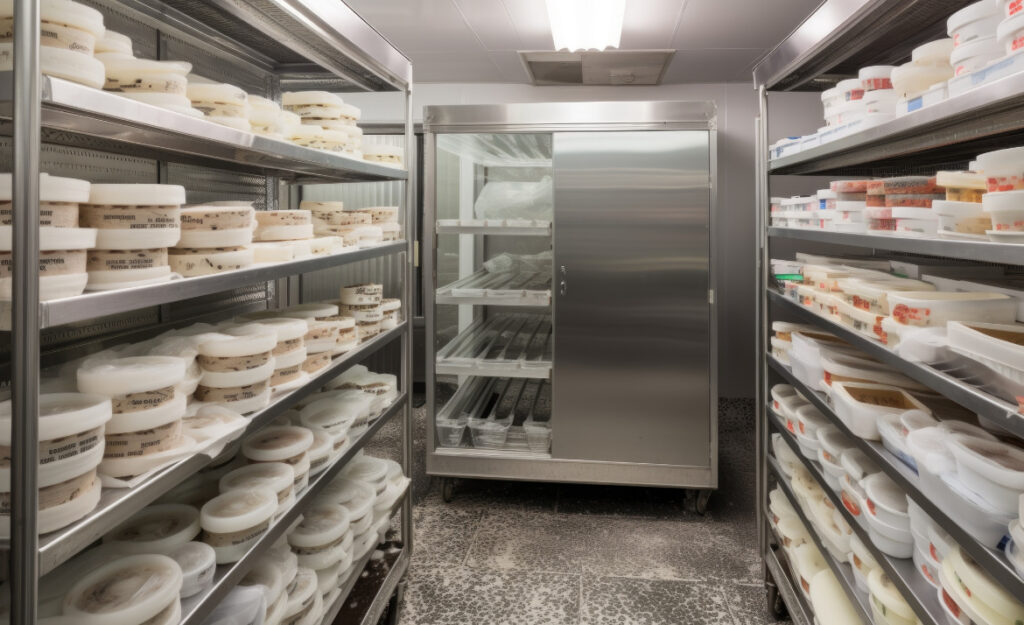
- Organize by temperature sensitivity — place raw proteins lower, dairy and pre-cooked items mid-level, and produce on top. This makes troubleshooting easy when items freeze or wilt.
- Rotate inventory regularly — move older items forward and newer stock to the back. This keeps air flowing and reduces blockages from overstocking.
- Clean shelf rails weekly — grease and crumbs jam up rails, inviting mold that can slow fan performance. Quick wipes during low-use periods build a habit for all staff.
Report back: “Fans are clear, air is moving—let’s check temps every hour until readings stay solid.”
Spotting Recurring Patterns and Training for Better Results
Patterns like repeated freezing of produce or warm zones behind bulk meats hint at staff habits or layout issues. Observation during busy prep times reveals real behaviors to address.
- Log trouble spots — record shelf numbers that repeatedly fail. Training is easier when everyone sees where problems occur and why.
- Share best practices at shift meetings — a quick demo on shelf spacing pays off, especially with new hires or schedule turns.
- Reinforce reminders visually — place simple diagrams at eye level inside doors, showing correct loading technique and ideal circulation gaps.
- Praise quick fixes by staff — encourage reporting and acting on obstructions, building a team approach to refrigeration troubleshooting and maintenance.
- Document changes in your maintenance schedule — updated shelf maps and rotation charts prevent history from repeating, as recorded notes outlast staff turnover.
When daily routines support troubleshooting, the whole system gets resilient—food stays safe, and emergencies dwindle. Refrigeration troubleshooting can become second nature for the whole kitchen team.
Tackling Unusual Noises and Diagnostic Steps for Kitchen Safety
Catching and diagnosing odd refrigerator noises safeguards quality and safety. Here’s what you’ll notice, and exactly which steps to take when something’s amiss.
A kitchen manager hears metallic rattling from the walk-in. Instead of ignoring it, she acts: listening affects results more than expecting the machine to ‘run quieter soon’. That decision supports food safety before equipment fails entirely.
Separating Normal Sounds from Trouble Signs
Clicking and soft hums signal switches and fan cycles; normal. Loud bangs or grinding, however, suggest loose parts, failed bearings, or debris in condenser fans.
Remove nearby containers and open the access panel. If a part wobbles with a gentle touch, it needs tightening or replacement. Alert technical support if the issue isn’t fixable with basic tools and safe handling.
Keeping a log of new noises and the kitchen’s frenetic background helps—was this right after a shelf re-stack or after a power flicker? This helps pinpoint underlying causes.
Documenting and Troubleshooting with a Proactive Checklist
Create a “Noise Observation Log”: date, time, what was heard, and any visible changes. Take a short video using your phone if you notice repeated grinding, so service teams have useful reference.
If actions like removing ice from fans, tightening panels, or realigning shelves don’t fix the noise, schedule a technician visit. Tell staff: “We’ve documented this, and proactive repairs save crucial downtime.”
Record successful resolutions—“Tightened condenser bolts, rattle gone.” Staff can repeat solutions next time, directly benefiting future troubleshooting efforts.
Resolving Power Failures and Electrical Surges Safely
Verifying refrigerator power supply integrity keeps your industrial kitchen operational and protects inventory. Sudden outages or frequent surges cause costly spoilage, so acting fast really matters.
First, confirm that the fridge’s circuit breaker hasn’t tripped. Some models show blanked-out control panels or silent interiors, revealing instantly the appliance is off.
Double-Checking Power and Circuit Breaker Connections
Unplug and replug the refrigerator, checking for lights or its familiar startup hum. If nothing happens, inspect the breaker box for a flipped switch. If repeatedly tripping, note the load—are multiple high-wattage appliances on the same circuit?
- Switch all prep equipment off—limit loads competing for power during busy shifts, reducing electrical draw and preventing brownouts that could cut fridge cooling.
- Insist on labeled circuit breakers—color-code or sign appliances so less-experienced staff quickly identify the right breaker when problems strike, avoiding wasteful resets.
- Test GFCI outlets monthly—press the “Test” and “Reset” buttons to verify protection. Replace faulty outlets to shield your unit from dangerous surges or electrical shorts.
- Schedule quarterly wiring inspections—licensed electricians can spot aging wires, loose receptacles, or corrosion that’s invisible to everyday troubleshooting efforts.
- Log power outages and refrigeration troubleshooting attempts—documentation speeds up support calls and aids future diagnosis.
Power checks are routine, not one-offs. Keeping appliances running means keeping kitchens cooking, with troubleshooting skills that support real results and dependable fridges.
Fighting Frost Buildup and Preventing Costly Defrost Cycles
Managing frost on refrigerator coils keeps compressors working efficiently. Left unchecked, the buildup increases wear. Acting early makes the difference between a quick defrost and a pricy repair down the road.
Frost collecting consistently across evaporator coils or along door frames points to faulty heaters, door gaps, or unsealed food. Fixes usually start with a manual defrost, but long-term resolution takes extra vigilance.
Implementing a Reliable Defrost Routine
Plan manual defrosts outside kitchen peaks. Open the door, empty contents, and allow built-up ice to melt completely—use towels, not sharp objects, to collect water and protect coils.
Addressing Recurring Frost After Defrost Cycles
If frost keeps returning, revisit gasket checks and monitor staff habits. Do the doors stay ajar during delivery rushes? Address processes: “Close each unit before grabbing the next day’s produce.”
A chef who tapes frost-free reminders to the fridge door finds less downtime and fewer sticky defrost emergencies. Consistency pays, especially when kitchen momentum is high and troubleshooting slips the mind.
Improving Humidity Control and Reducing Food Spoilage
Maintaining proper humidity in refrigerators means produce lasts longer and flavor stays fresh. Technicians and staff alike benefit from smart adjustments and scheduled testing to keep conditions right.
Two chefs notice lettuce wilting faster than last week. One checks the humidity pan, the other inspects the evaporator fins for moisture—acting on early clues keeps food costs under control and avoids last-minute ingredient swaps.
Testing and Adjusting Humidity Crisper Settings
Check the crisper drawer or humidity tray. Add or remove water based on condensation inside the unit. Clean trays and charts weekly, and record what settings deliver crisp, lasting greens in high-use kitchens.
Balancing Air Circulation and Moisture Barriers
Inspect shelf liners for blockage. Rearranging items by moisture output—veggies away from vents, proteins beneath—stabilizes humidity and temperature. Frequent inventory turns prevent over-condensation and surprise spoilage seen during busy meal rushes.
Major chains train staff to monitor both temperature and humidity logs. A chef moving prepped salads from shelf five to shelf three sees two extra days of shelf life—direct feedback from routine checks shapes everyday troubleshooting.
Building a Preventive Refrigeration Troubleshooting Culture in Your Kitchen
Regular communication about problems and fixes gives everyone ownership in fridge reliability. When each worker can explain what a humming noise or drippy shelf means, your kitchen keeps chaos at bay.
Create a shared troubleshooting log—logs posted next to each fridge for everyone to fill in, not just management. Share outcomes during shift change: “Coils cleaned, temp holding steady, produce looking good.”
Make best practices visible and easy to adopt, with diagrams above shelf rails or next to control panels. New hires quickly absorb rules that are posted, not buried in manuals.
Encourage immediate reporting of issues. A simple rule: “See water, say something.” Kitchen confidence grows when problems aren’t hidden, letting swift troubleshooting prevent escalation.
A culture that rewards prompt action saves money, reduces loss, and lets kitchens run with fewer emergencies. The result: smoother service and consistently safe, fresh food.
Kitchen Confidence Through Effective Refrigeration Troubleshooting
Practical refrigeration troubleshooting keeps industrial kitchen teams ahead of problems. Each section above showed a targeted step, from checking seals to documenting unusual noises or tracking humidity levels for fresher produce.
Refrigeration troubleshooting ensures food quality, safety, and equipment longevity—all critical to daily operations. Skills and vigilance from everyone bolster resilience, curbing emergencies before they disrupt the kitchen’s rhythm.
With routine checks, a culture of shared responsibility, and well-trained eyes, industrial kitchens can expect fewer surprises and stronger performance from every fridge. Simple actions make world-class meals—and workplaces—possible.
Frequently Asked Questions
- What’s the best way to log refrigeration troubleshooting events?
Use a shared logbook or digital log right beside the fridge. Date each entry. Note observed symptoms, actions taken, and the outcome. Consistent notes help staff see patterns and guide future problem solving quickly. - Should I call a technician for minor noises from the fridge?
First, document the noise and check for loose trays, panels, or debris. If safe tightening doesn’t resolve it, contact a technician. Proactive communication prevents serious failure and speeds up professional diagnosis. - How frequently do I need to clean condenser coils?
Schedule condenser coil cleaning quarterly, or more if your fridge sees heavy use and grease exposure. Cleaning coils boosts efficiency, reduces frost-up, and extends fridge lifespan, so don’t skip regular checkups. - When is manual defrosting necessary?
Manual defrost is needed when ice or frost builds up visibly on coils or frames. Pick low-traffic times, move products, and let ice melt naturally. Staying consistent prevents emergency shutdowns and excess wear on components. - How can we maintain new staff’s awareness of best refrigeration practices?
Reinforce with visible reminders beside controls, hands-on demonstrations during onboarding, and open logs. Recognize quick troubleshooting with positive feedback. Awareness rises when actions are easy, visible, and regularly practiced in the kitchen.