
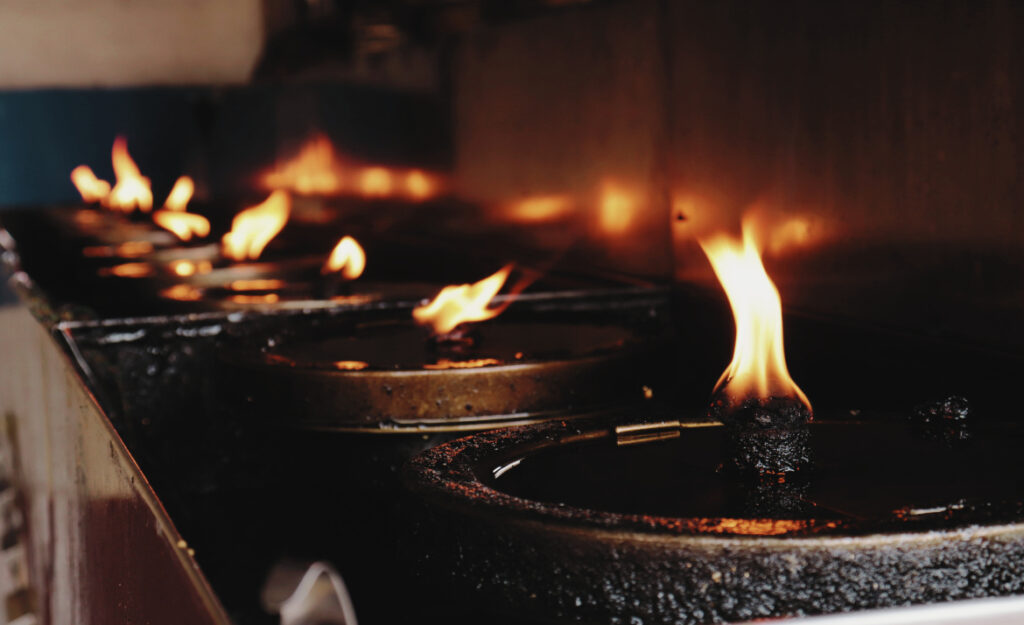
Pilot light issues in an industrial kitchen don’t just disrupt workflow—they can also pose genuine hazards if left unchecked. When the familiar blue flame disappears, tension rises and productivity stalls, creating more than just inconvenience.
Commercial kitchens demand reliability from their gas appliances, but even routine use can spark pilot light issues. When equipment stalls, production lines might halt, and safety becomes an immediate concern for kitchen teams relying on continuous flame to keep everything running smoothly.
This article delivers step-by-step solutions for any industrial kitchen team facing pilot light disruptions, ensuring every fix improves safety and minimizes downtime. Dive in for tested strategies and hands-on examples you can put into practice right away.
Troubleshooting Pilot Light Outages: A Consistent Method for Immediate Response
Every kitchen technician needs a plan when a pilot light goes out. A step-by-step troubleshooting approach catches small errors before they turn into workflow disasters. Develop habits that prioritize personal and workplace safety.
When the problem appears, avoid panic. Pause equipment use, ventilate the area, and scan for gas odors. Calm, methodical actions reduce risk and set the foundation for further repairs.
Identifying Equipment Condition
First, check if the appliance is cool enough to touch by holding your palm close to the surface. If it feels hot, give it time to cool, then visually inspect the gas lines, control knobs, and ignite assembly for apparent damage or misalignment.
A technician might say, “Let’s check for obvious blockages,” while calmly kneeling beside the faulty range and using a flashlight to spot food debris, loose fittings, or residue near the pilot orifice. Direct inspection uncovers issues manuals can’t predict.
Analogous to resetting a home circuit breaker, resetting the pilot system after an outage can restore function—but only after verifying no leaks or visual faults are present. This ensures a safe environment for lighting attempts.
Communicating with Your Team
In industrial kitchens, clear hand signals and concise updates turn a technical problem into a team-coordinated fix. Before starting, announce, “I’m working on the fryer’s ignition; please keep this area clear for five minutes.” This minimizes distraction and traffic nearby.
Sharing status updates, such as “We located a blocked pilot tube; cleaning now,” lets others adjust their workflow, keeps everyone informed, and reduces confusion about equipment availability. These habits become invaluable when the kitchen is busy and resources are stretched.
Control tension in the room by assigning roles: one person troubleshoots, another documents. This approach streamlines diagnoses, maintains order, and ensures compliance with standard procedures every single time.
| Cause | Observable Sign | Tool Needed | Recommended Action |
|---|---|---|---|
| Blocked orifice | No flame, clicking sound | Wire brush | Turn off gas, clean orifice, try relighting |
| Loose thermocouple | Intermittent lighting | Wrench | Tighten with wrench, ensure secure fit |
| Damaged tubing | Smell of gas | Leak detection spray | Shut down equipment, replace tubing |
| Stuck gas valve | Knob hard to turn | Lubricant spray | Apply recommended lube, do not force |
| Power outage | No sound or ignition spark | Multimeter | Check wiring, confirm power supply |
Establishing Preventive Routines: Maintenance Steps That Reduce Future Risk
Adopting daily, weekly, and monthly routines prevents pilot light issues before they have a chance to disrupt operations. Every routine begins with a short checklist and ends with a test ignition—consistency is key.
Use these steps to keep staff on task and equipment in top shape. Designate responsibility for checks and rotate duties to build team skill and awareness across shifts.
Sample Daily Checklist
Complete a visual inspection of each pilot assembly—look for build-up, discoloration, or loose connections. Run your hand along the gas lines for any leaks or temperature changes, listening for unusual hissing sounds and responding by logging them immediately.
- Wipe down accessible surfaces: Remove grease to prevent fires and residue-induced blockages.
- Inspect pilot flame color: Blue flames indicate efficient burning, while yellow suggests contaminant build-up; act immediately if dull or wavering.
- Secure knobs and valves: Ensure controls are tight and gas isn’t leaking, reducing the risk of accidental shutdowns.
- Test shut-off switches: Confirm emergency power and gas cutoffs work by cycling briefly and observing response.
- Log inspection results: Record what you discover for future reference and team accountability.
Start every morning with the checklist. If any deviations are found, address them before ramping up kitchen operations.
Weekly Deep Clean Details
Once a week, shut down equipment in sequence and allow it to cool. Assign everyone a section—one for burners, one for valves, another for gas lines. This division increases efficiency and ownership.
- Disassemble key areas: Remove panels to access hidden burners that collect debris, boosting reliability after each cleaning.
- Brush pilot assemblies: Use non-metallic brushes to prevent scratches and static, which can damage sensitive components.
- Test carbon buildup: Rub a paper towel over the orifice; if black residue appears, repeat cleaning until it’s gone.
- Spray joints and seals: Leak test with soapy water—bubbles indicate a small leak that could worsen if left unchecked.
- Document completion: Mark a shared chart with tasks and initials, then file it where the next team can double-check.
Keeping a weekly rhythm lowers overall maintenance loads and spots pilot light issues early, reducing unexpected outages.
Explaining Common Triggers: Spot What Causes Pilot Light Trouble Fast
Recognizing what triggers pilot light issues means you can fix them more quickly. Once you learn key patterns—like food debris, loose connections, or fluctuating gas pressure—you cut troubleshooting time in half.
Think of a pilot assembly like a traffic intersection. When something blocks the way, the whole system stops, but clearing it lets everyone proceed safely again.
What Debris Causes
Crumbs, oil, and other kitchen debris accumulate around burners, blocking gas flow or insulating heat sensors. Teams that regularly sweep and wipe down workstations also prevent blockages before they become mechanical failures, especially after back-to-back meal rushes.
A lead cook might notice, “The pilot’s out again right after the fry shift—check for crusted batter in the bowl.” Implement a quick cleanup after lunch, not just at closing, for immediate improvement.
On heavy-use days, designate a point person to do visual checks and log potential trouble—one small change can prevent a full kitchen shutdown mid-service.
Gas Supply Consistency
Pressure drops result from seasonal weather, line wear, or recent maintenance on building utilities. Pay close attention to pilot lights that flicker or die during specific shifts or at certain times of day; track patterns in a small notebook.
When a gas panel alert sounds, follow a prepared script: “Pause orders, open windows, call the supervisor—let’s confirm supply levels and double-check safety sensors before relighting anything.” This keeps risk minimal.
Regular calibration of pressure regulators, performed with both digital and analog gauges, minimizes future outages. Turn slow-burning habits into monthly routines for smoother service.
Prioritizing Safety Every Step: Essential Habits That Protect Your Team
Prioritizing safety ensures pilot light issues are resolved without risk or injury. Each repair or inspection must be paired with a quick mental safety check before making any adjustments.
Emphasize safety actions right before probable ignition steps. For example, take a two-second pause, scan the immediate area, then announce work aloud to signal readiness.
Physical Barriers and Signals
Use portable signs to redirect kitchen traffic during troubleshooting. If someone approaches, wave a hand and say: “Gas work in progress—please use the other walkway.” Combining voice with signs reinforces boundaries and prevents unexpected interruptions.
Teams with color-coded safety vests or armbands increase visibility. New staff can quickly identify who manages gas repairs just by spotting the vest, avoiding confusion during busy hours.
If noise levels rise, use hand signals—flat palm to pause, thumbs-up to indicate all clear. These low-tech habits can prevent communication mishaps during critical moments.
Air Flow and Gas Detection
Open windows and switch on extraction fans before relighting attempts. Encourage teams to develop the reflex of sniffing once near the appliance—unusual gas smells mean troubleshooting stops immediately, and the area is evacuated until inspectors arrive.
Install portable gas detectors and check their status each shift. Demo how to use them in five-minute staff briefings, reinforcing the rule: “If the beeper sounds, stop everything and exit.” Replace batteries on a fixed schedule.
Never allow relighting after a gas alarm without a supervisor’s written clearance. This rule keeps everyone focused on safety, not just speed.
Practicing Effective Relighting: Steps for Safe and Reliable Ignition
Relighting a pilot light in an industrial kitchen should be systematic. Label equipment with correct relighting sequences and keep manufacturer guides nearby for quick reference.
Always ask a colleague to observe from a safe distance, acting as a spotter in the event of a flare-up or lingering gas odor before starting.
Step-By-Step Relighting Script
First, shut off the gas valve and wait five minutes. Voice a countdown to signal that the area is clear. Then, strike the ignition, keeping your hand steady and face away.
Hold the reset button for precisely the manufacturer’s stated time—usually 30 to 60 seconds. If the flame appears strong and blue, announce “Pilot is steady, resuming operations.” If it sputters or fades, repeat the procedure after another cool-down interval.
Use a notepad to log each relight attempt and its outcome. If three attempts fail, cease trying and escalate to a licensed technician—this avoids equipment damage and ensures compliance with workplace policies.
Action List: Safe Relighting Reminders
- Check all manuals first to confirm the safe sequence—saves time and avoids mistakes from memory slips.
- Keep a fire extinguisher at reach—if something flares, shout “Fire!” and aim low at the base of any burner flame.
- Vent the space—open doors or windows to dissipate lingering gas before any spark or ignition attempt.
- Wear heat-resistant gloves—protects hands when working close to pilot assemblies after equipment cools.
- Record the fix—log every try in a maintenance notebook, building a record to speed up future troubleshooting.
Encouraging a Proactive, Safety-First Kitchen Culture: Building Lasting Results
Making safety-first behaviors second nature improves every aspect of kitchen life. When pilot light issues become teaching moments, kitchen teams respond swiftly in future incidents with greater confidence and fewer mishaps.
Review safety lessons after successful fixes. Ask, “What went right this time?” and document small wins to reinforce progress among team members and new hires.
Celebrating Successes and Sharing Insights
Share pilot light fixes at shift briefings or by posting a lessons-learned note in the staff area. Reward staff who follow effective routines—recognition builds morale and spreads smart habits quickly.
Encourage staff to suggest improvements based on real experience, not just manuals. One technician’s clever tip could prevent a future shutdown, improving overall kitchen reliability.
Gather ideas in a shared logbook. Review big wins at monthly team huddles, giving team members who contribute actionable ideas the spotlight for a few minutes.
Making Industrial Kitchens Safer and More Reliable with Consistent Practice
Tackling pilot light issues consistently creates a stronger, more reliable industrial kitchen. Clear communication, routine checks, and stepwise troubleshooting shrink downtime and keep everyone safe while maintaining professional standards.
Practical steps—visual inspections, daily logs, and using technology like gas detectors—protect both staff and assets against avoidable hazards. When each team member understands protocols, pilot light problems become manageable, not menacing.
Continuous learning and teamwork turn each pilot light issue into an opportunity for safety improvement, ensuring that industrial kitchens remain productive and hazard-free for everyone involved in daily operations.
Frequently Asked Questions
What’s the first action if a pilot light goes out during service?
Begin by turning off the gas supply to the affected appliance and ventilating the area. Announce the issue to your team and follow the equipment’s specific relighting protocol only after ensuring there’s no gas odor.
How can you spot pilot light issues before they cause trouble?
Watch for yellow or unsteady flames, listen for clicking sounds near ignition, and observe any unusual smells around the equipment. Structured daily and weekly inspections make early detection a reliable routine in any industrial kitchen.
Is relighting a pilot light always safe for non-technicians?
Non-technicians should follow official step-by-step guides and use safety gear at all times. If a flame won’t stay lit after three tries, escalate to a qualified technician promptly to stay compliant and avoid damage.
What’s the benefit of keeping a maintenance log?
Logs create a history of pilot light issues, successful fixes, and recurring faults. They help teams spot patterns, improve teamwork, and save time on future troubleshooting by providing accurate information about past incidents.
Why do industrial kitchens need portable gas detectors?
Portable gas detectors provide instant alerts for dangerous leaks, helping staff act quickly. Consistent use and maintenance of detectors protect everyone from safety hazards, especially in high-turnover or high-heat environments.